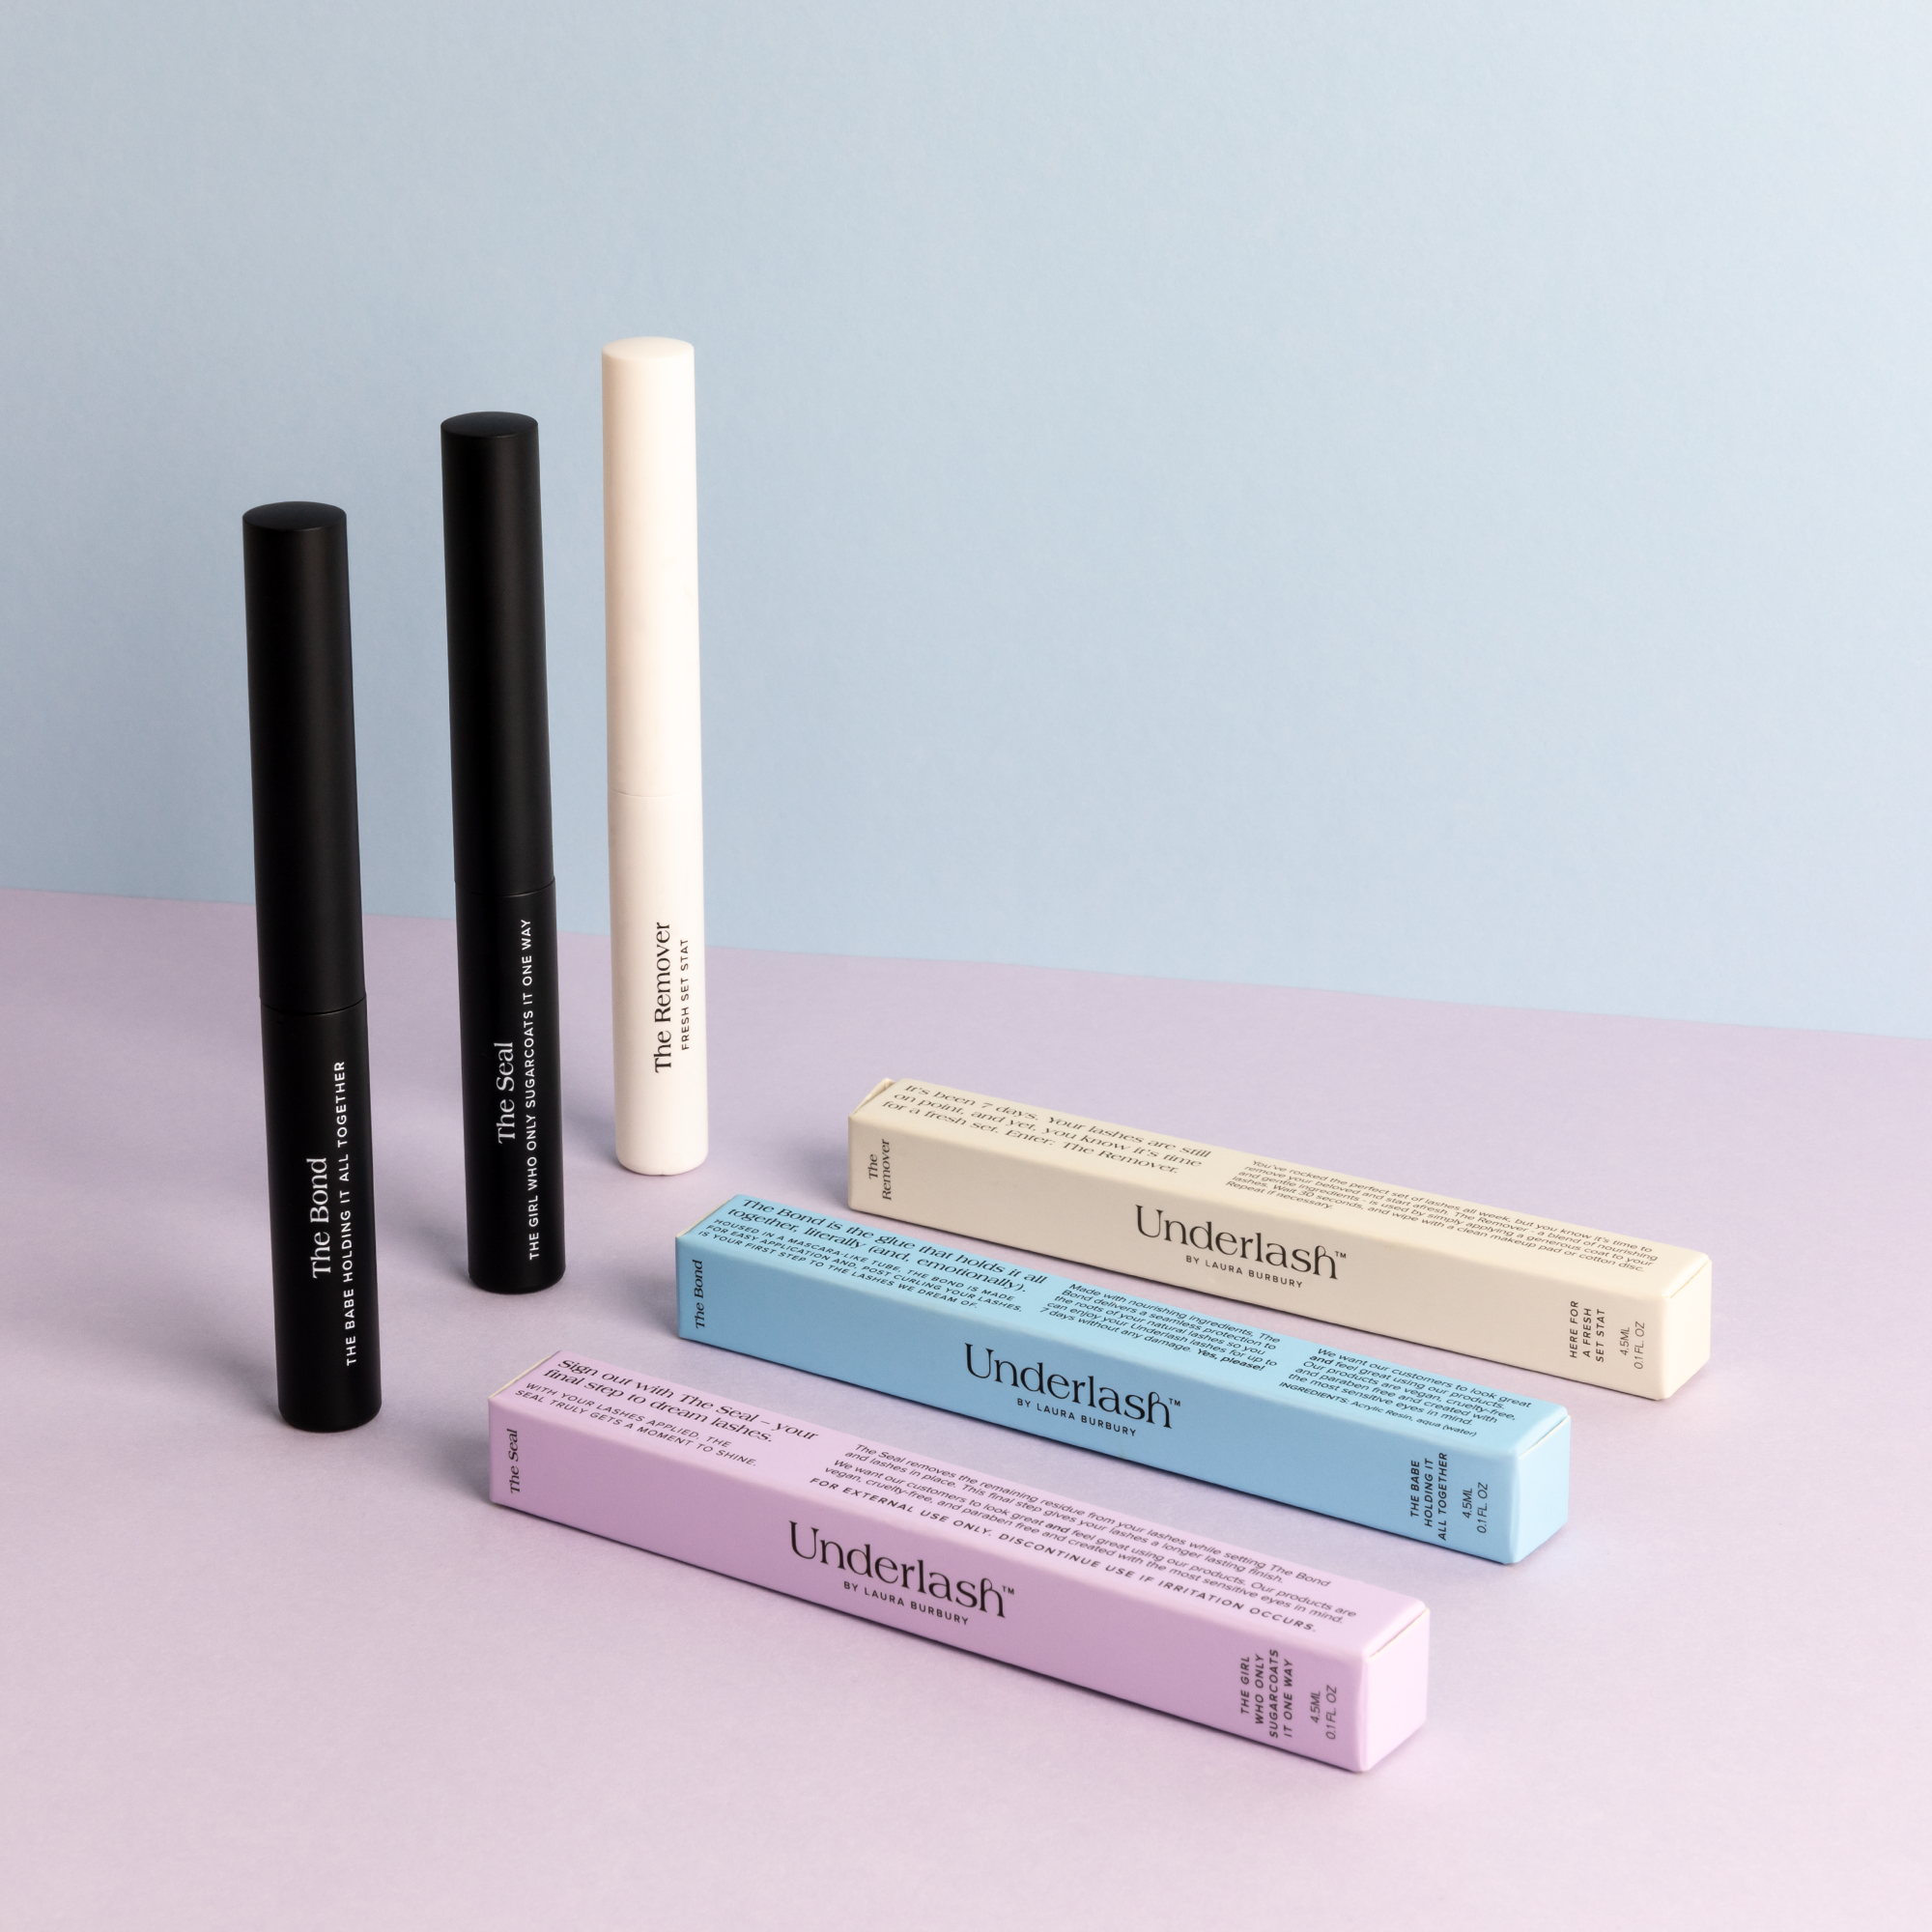
DIY Eyelash Extensions Essentials
Everything you need for flawless DIY lash extensions.
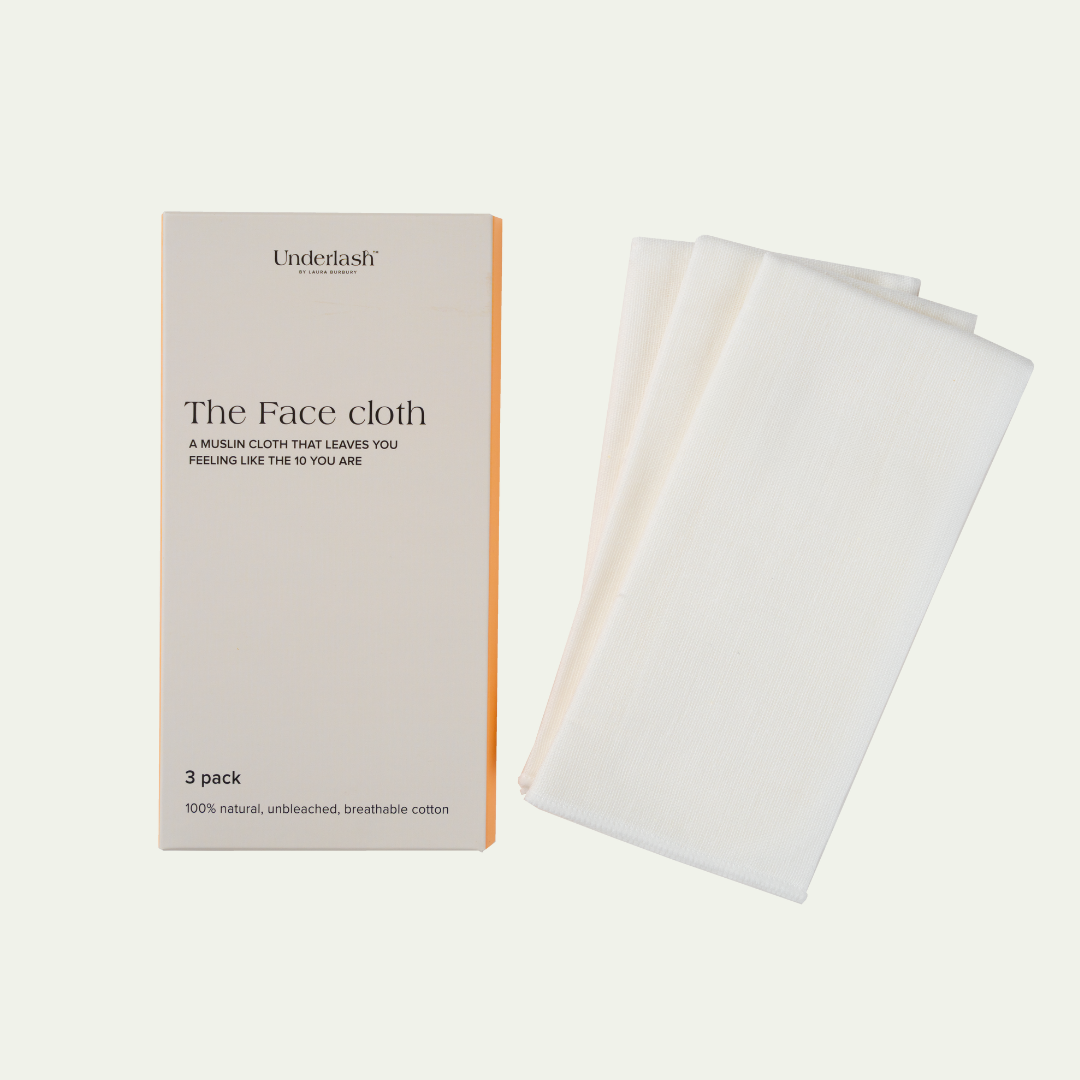
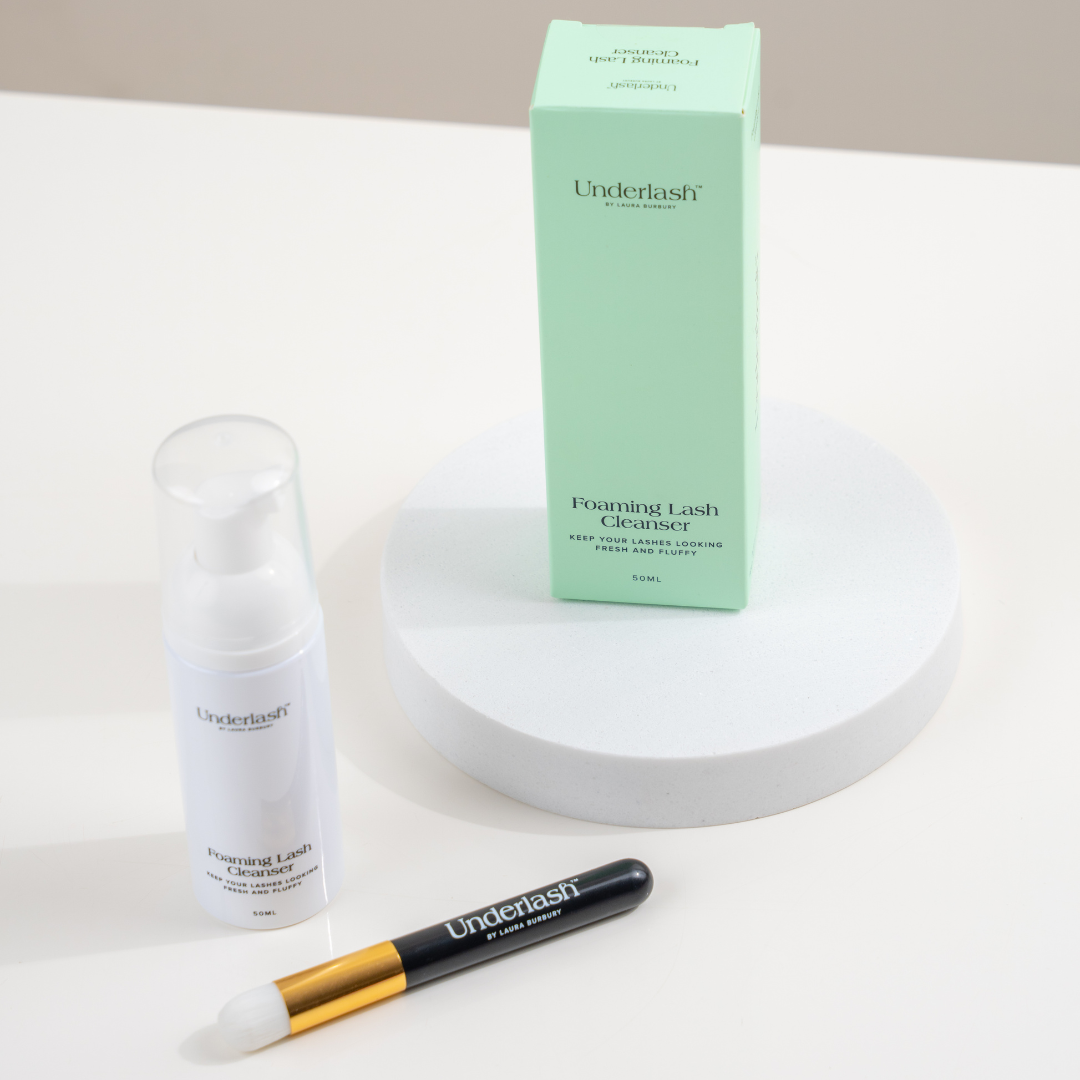
From applicators to curlers, lash shampoo to bond and seal—these are the must-haves that make your at-home lash routine easy, mess-free, and long-lasting.


FAQs
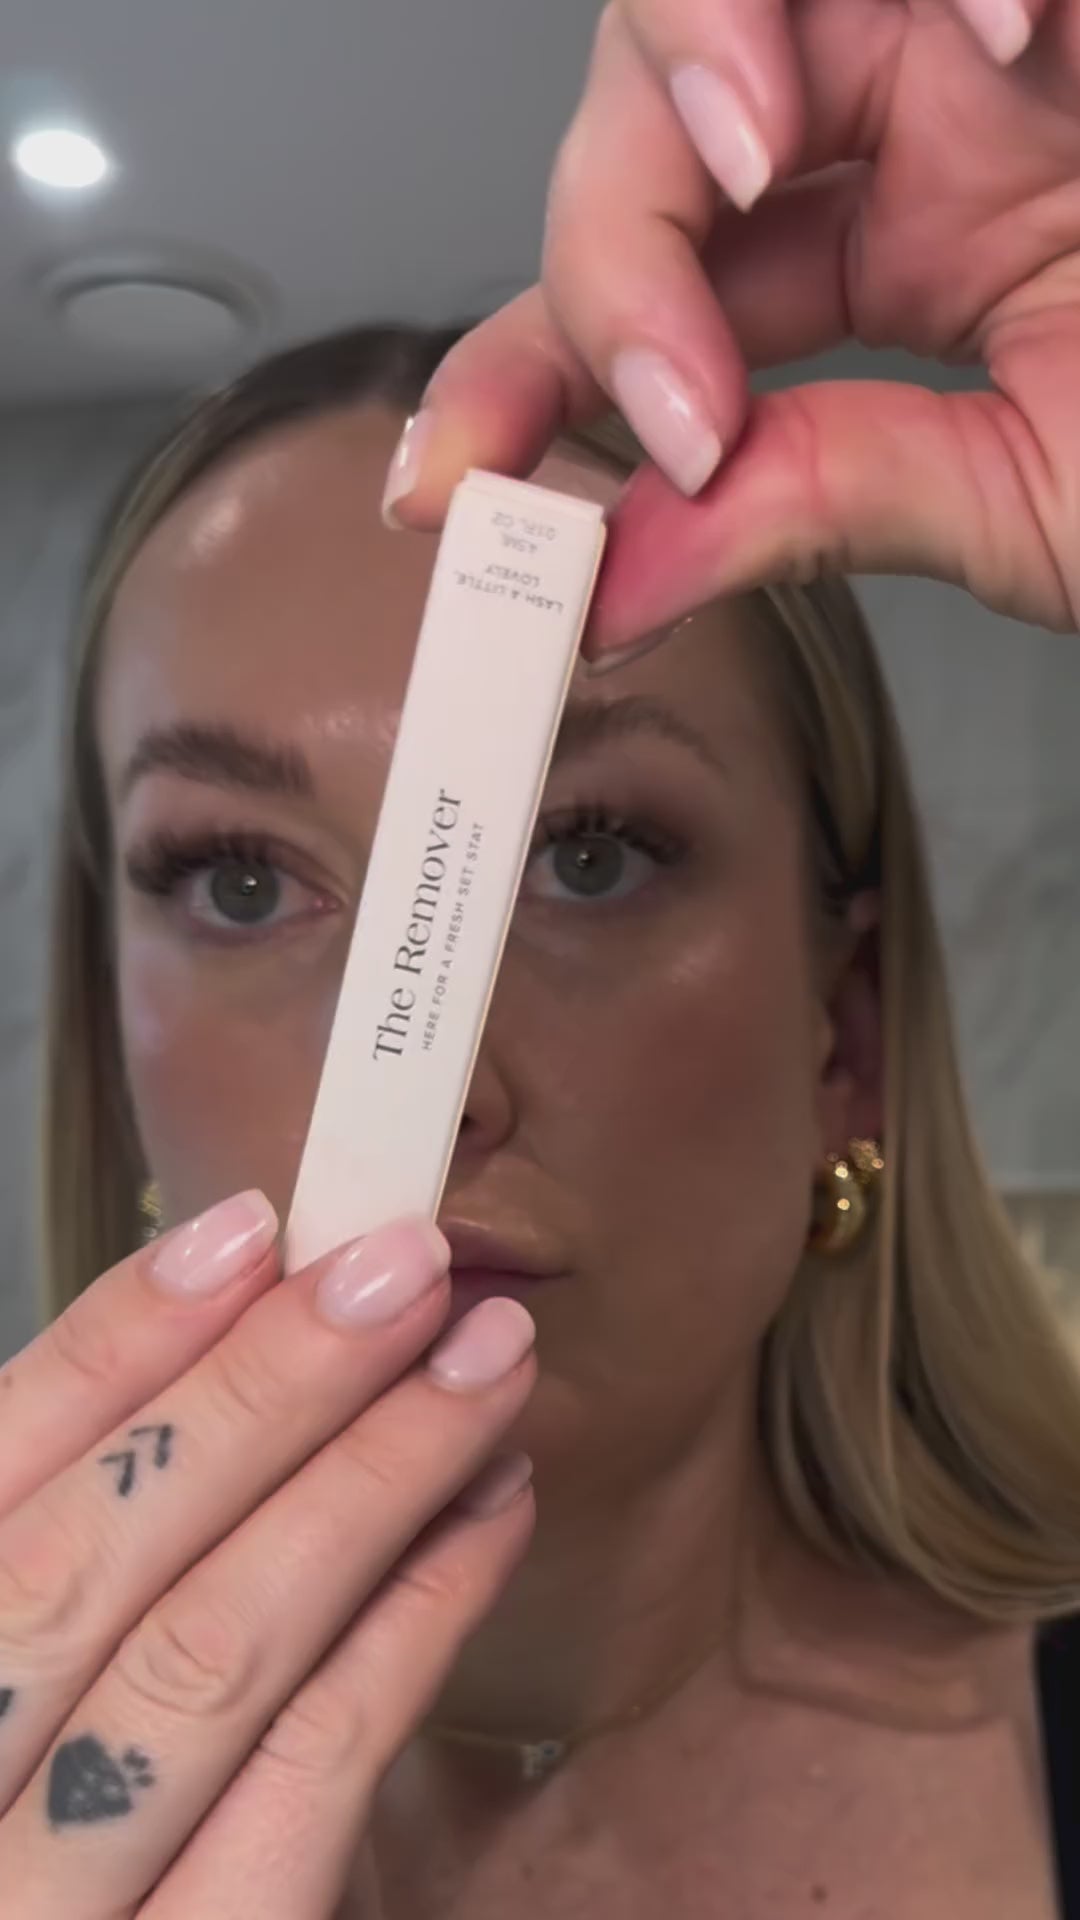
100% yes, queen! Our lash serum formula is oil-free, meaning it’s completely safe to use with your Underlash DIY lash extensions. Just let it dry fully, then reapply your seal and you’re good to go.
Ok hear me out, Give yourself 30 minutes for your first go. This is HEAPS of time and yes I hear you, You said 5 minutes! And this will come but I want you to read the instructions and take your sweet time.
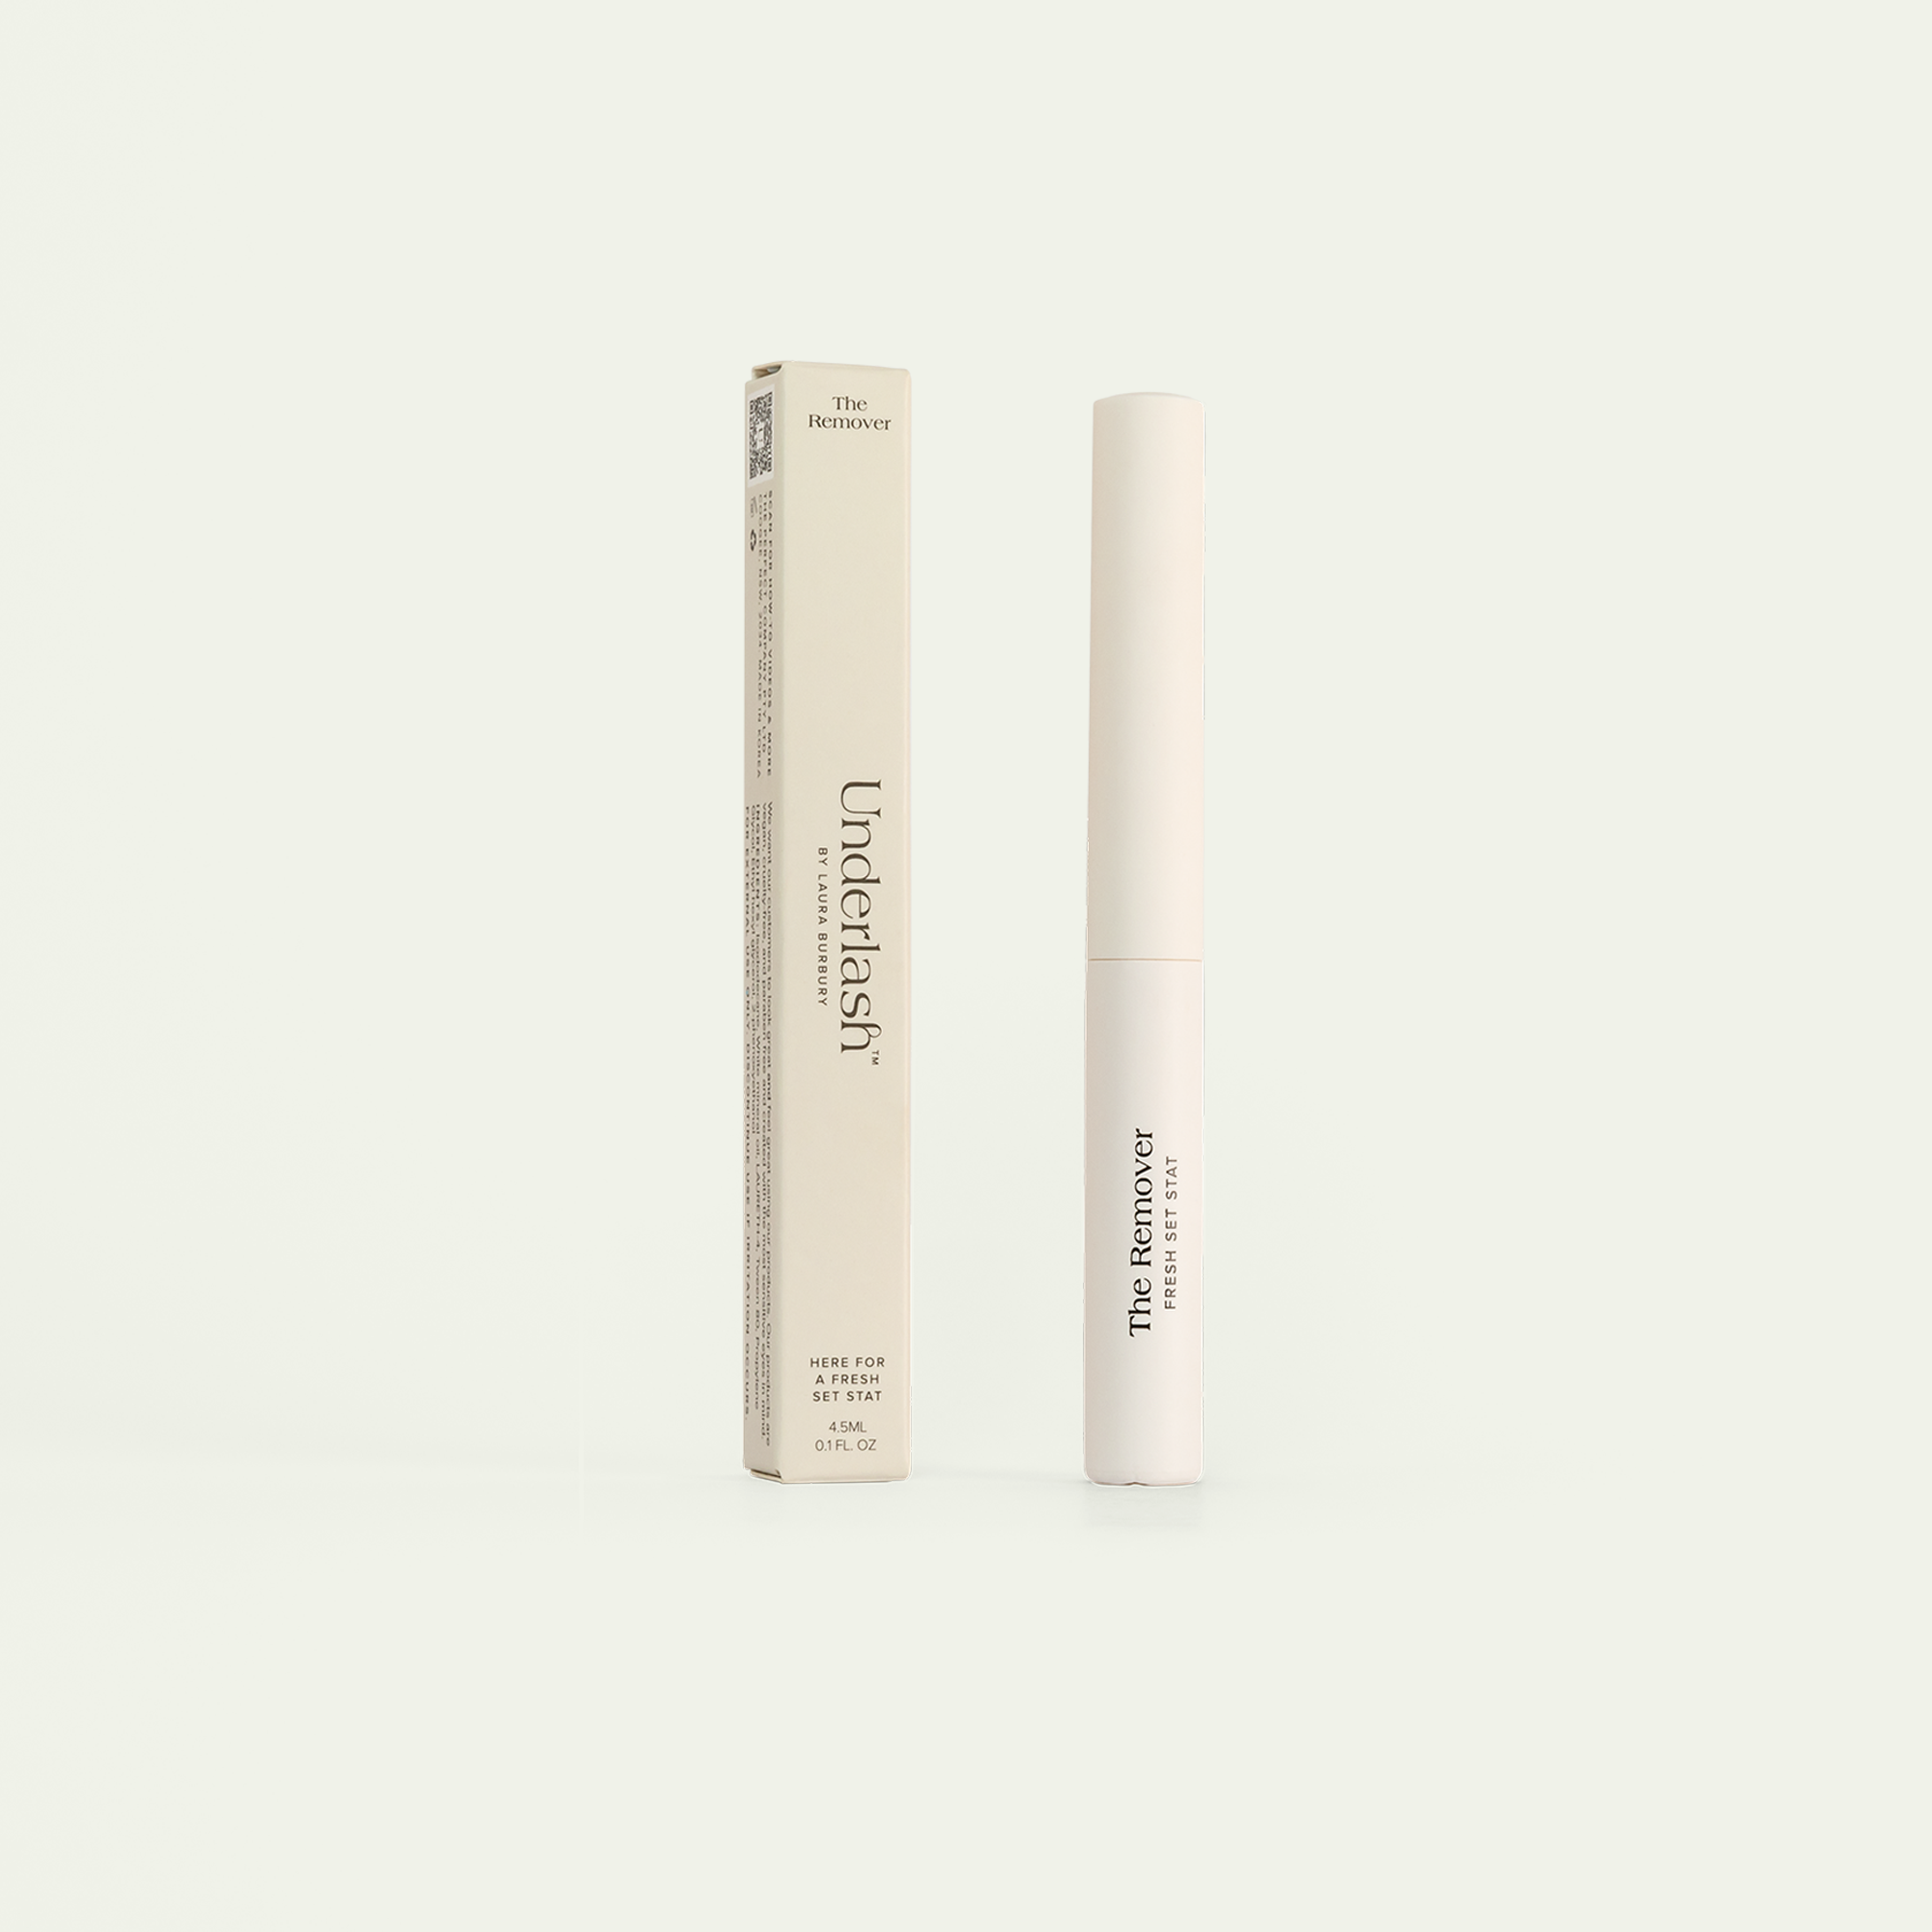
The Underlash kit is a single purchase that requires refilling. It includes two packs of Underlash lashes that can be used for 4-5 sets of lash applications, varying on the size of your eyes. The bond, seal, and remover will last for approximately 8-10 sets or around 3-4 months..
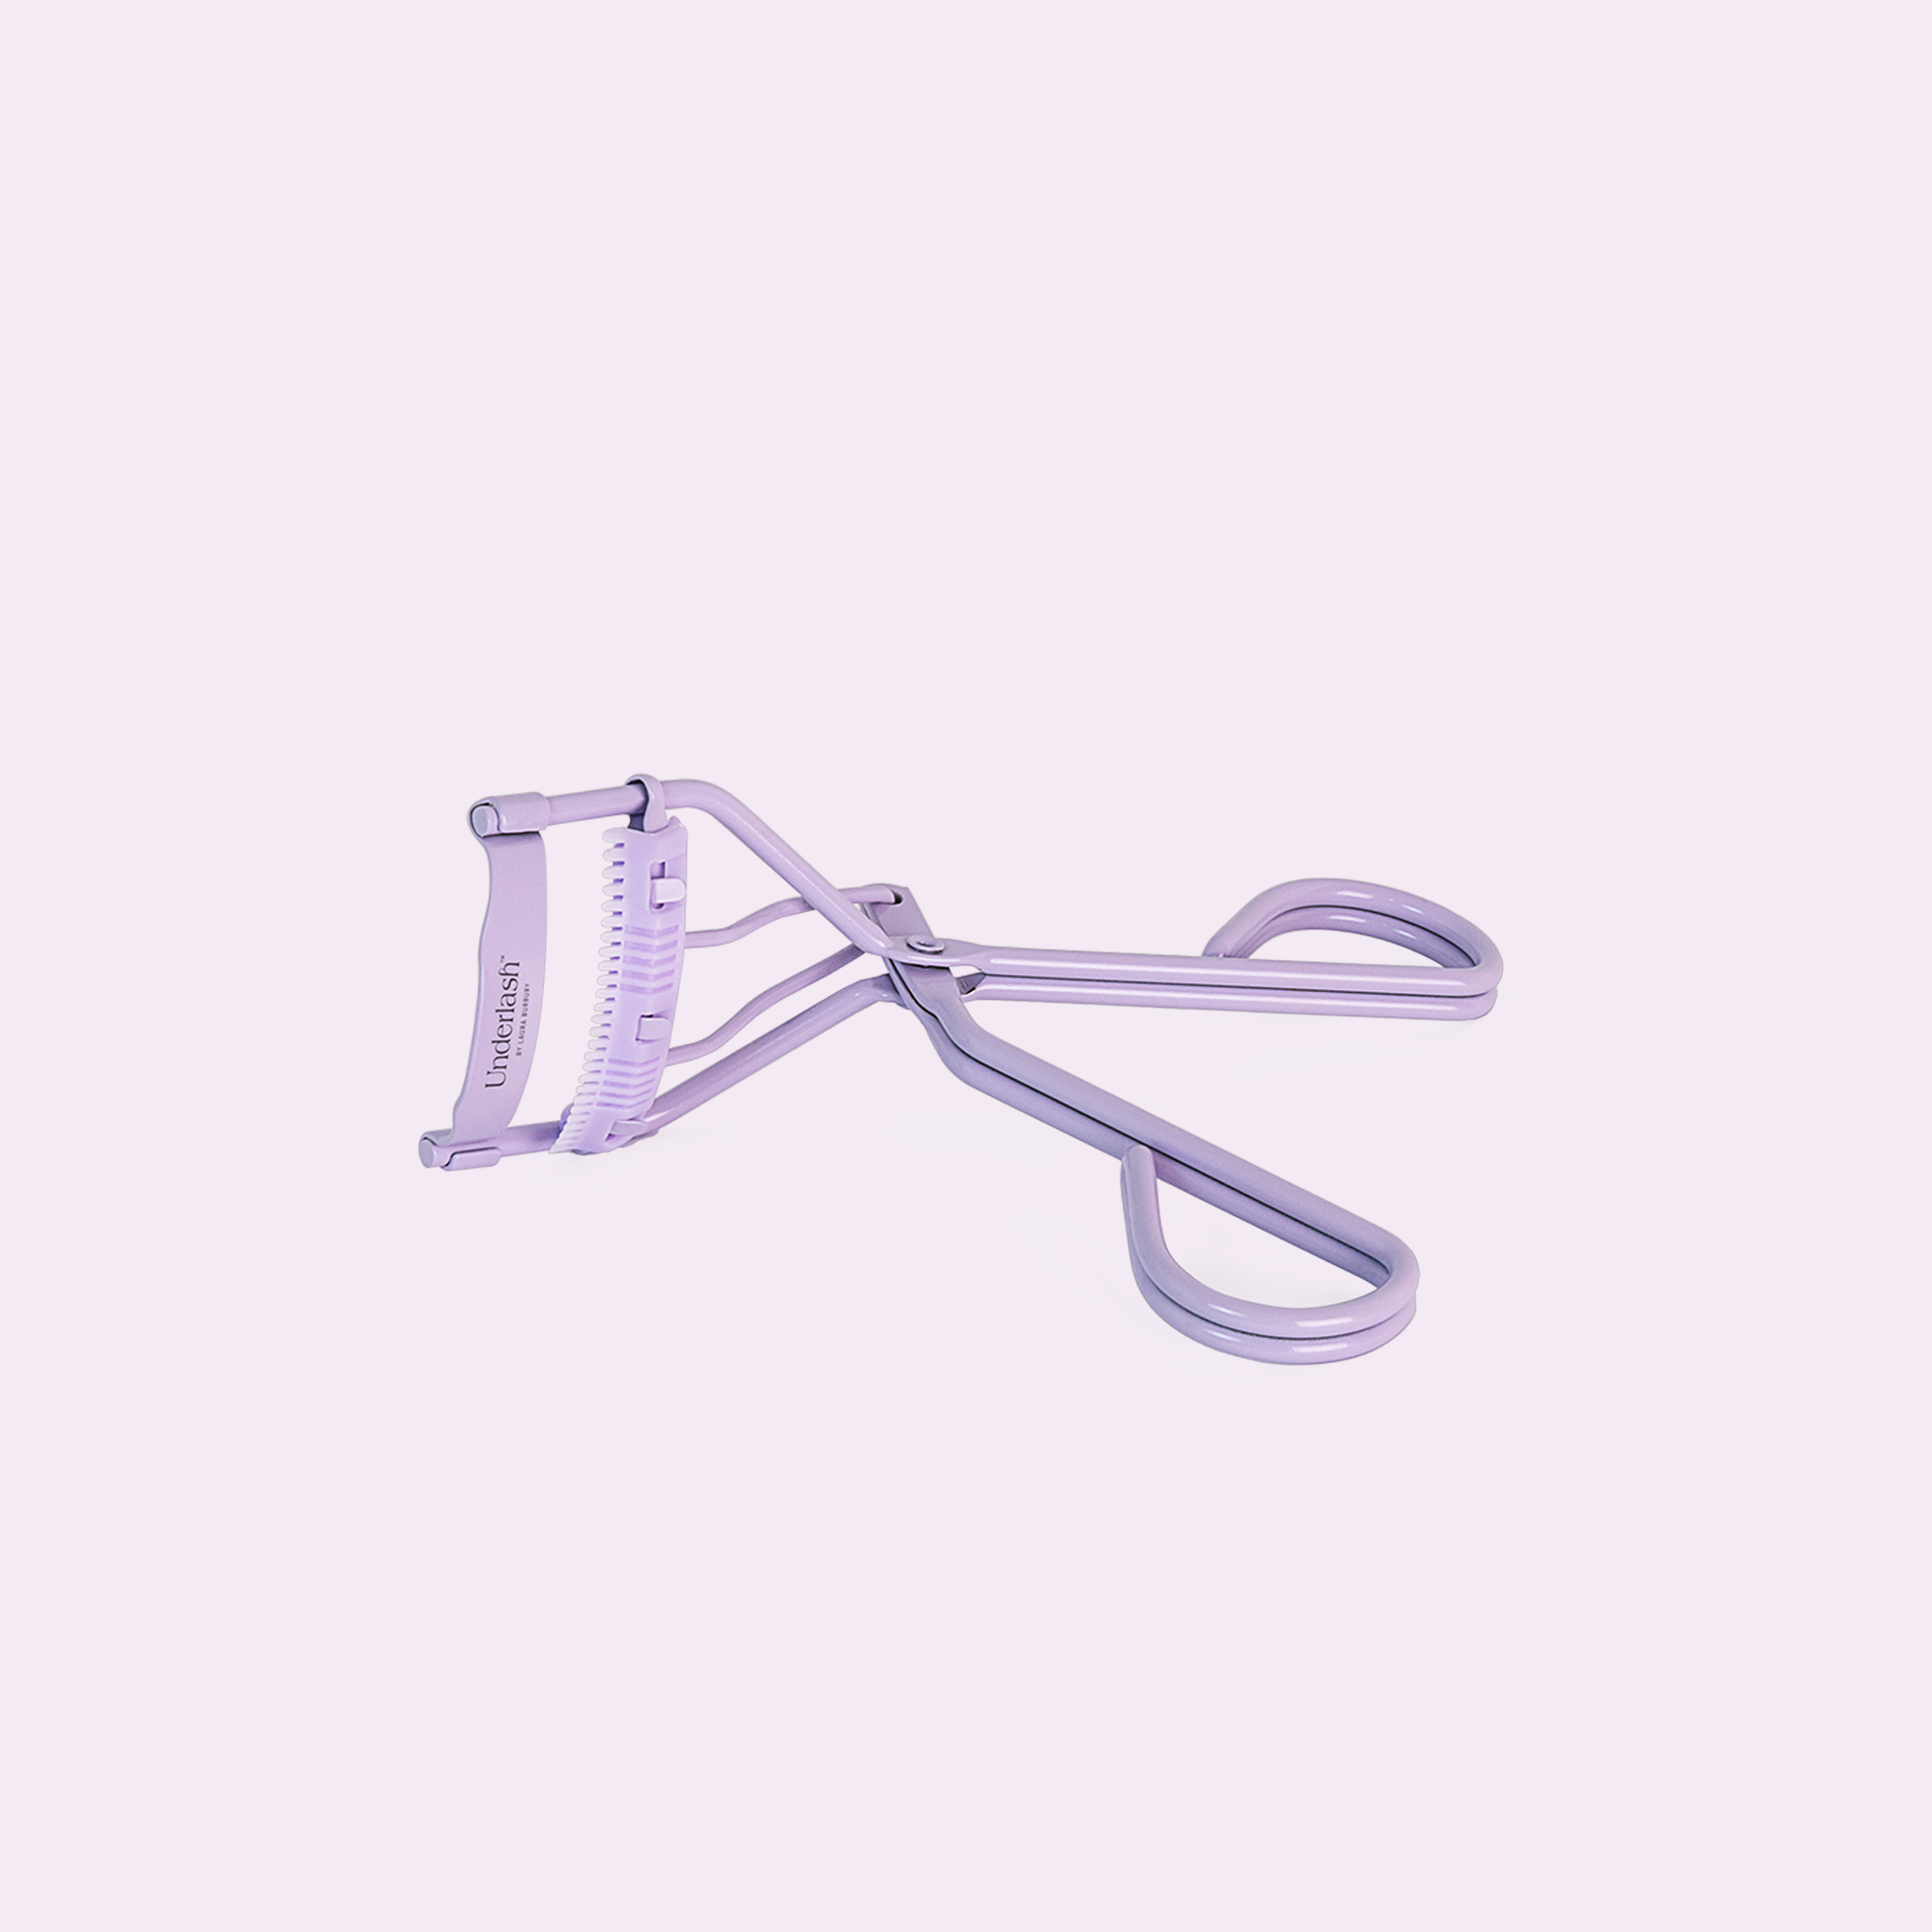
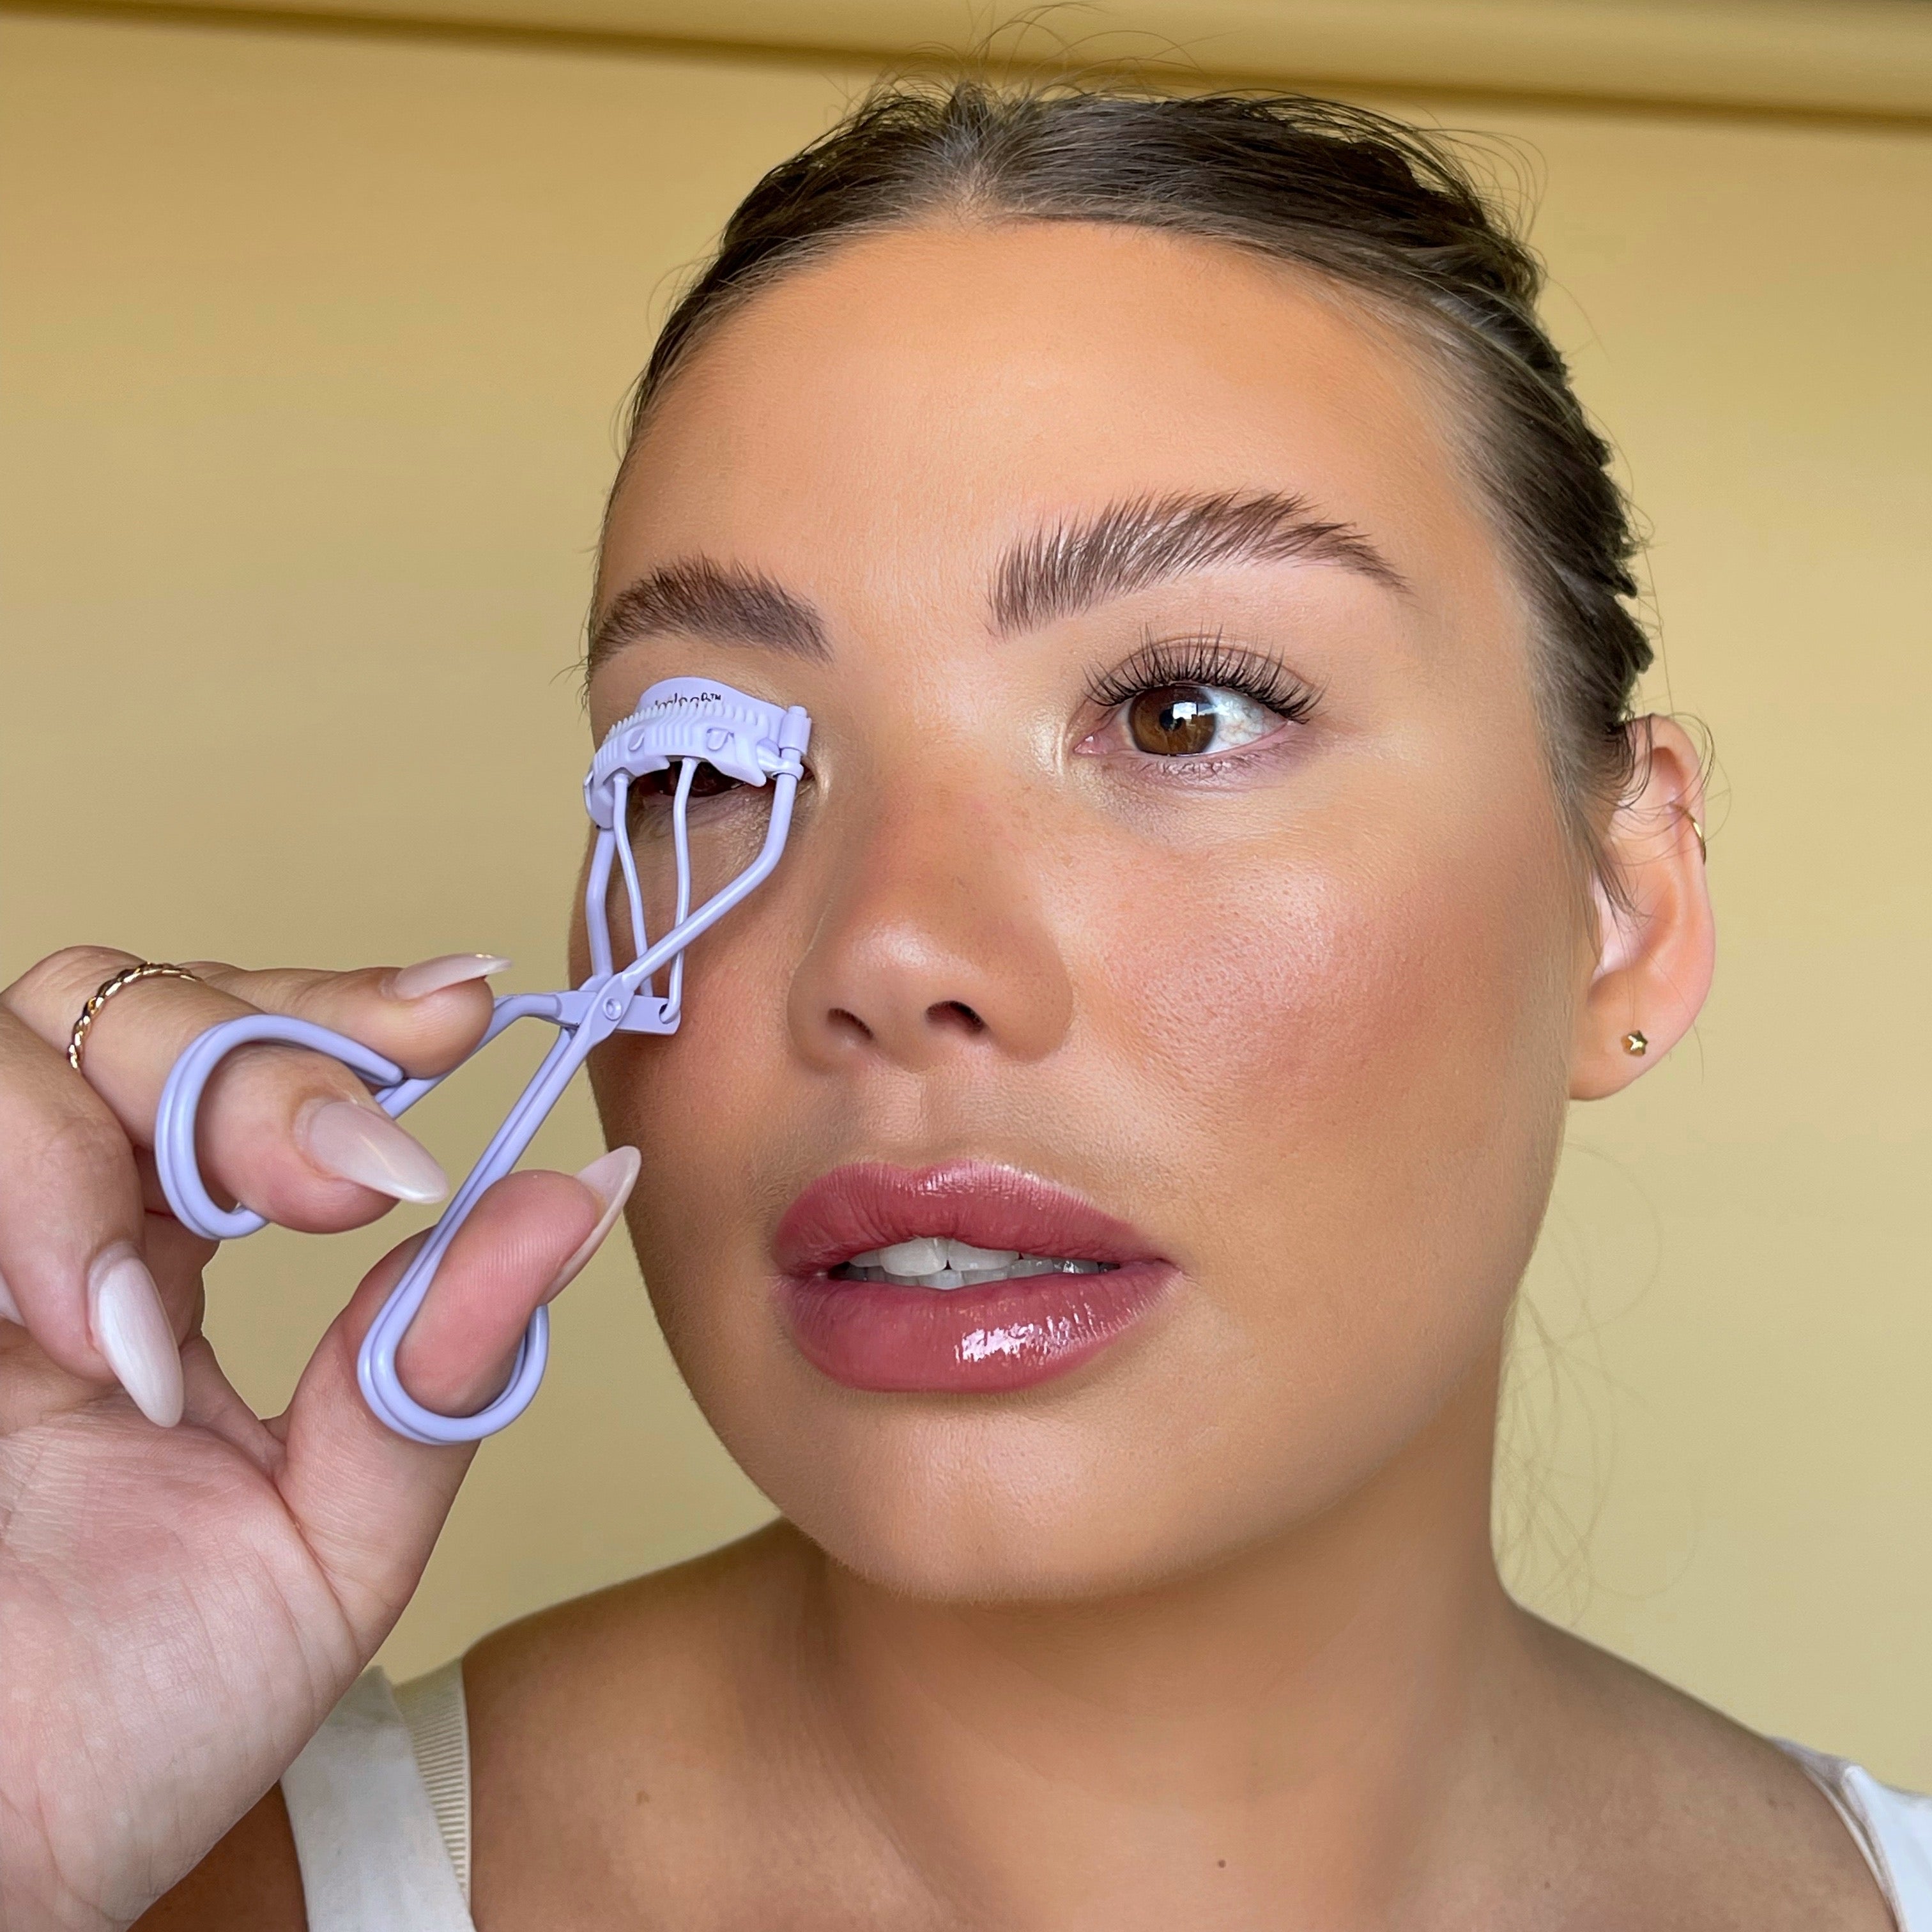
Step 1 - Curl those natural lashes to perfection.
Step 2 - Brush on some bond from root to midway.
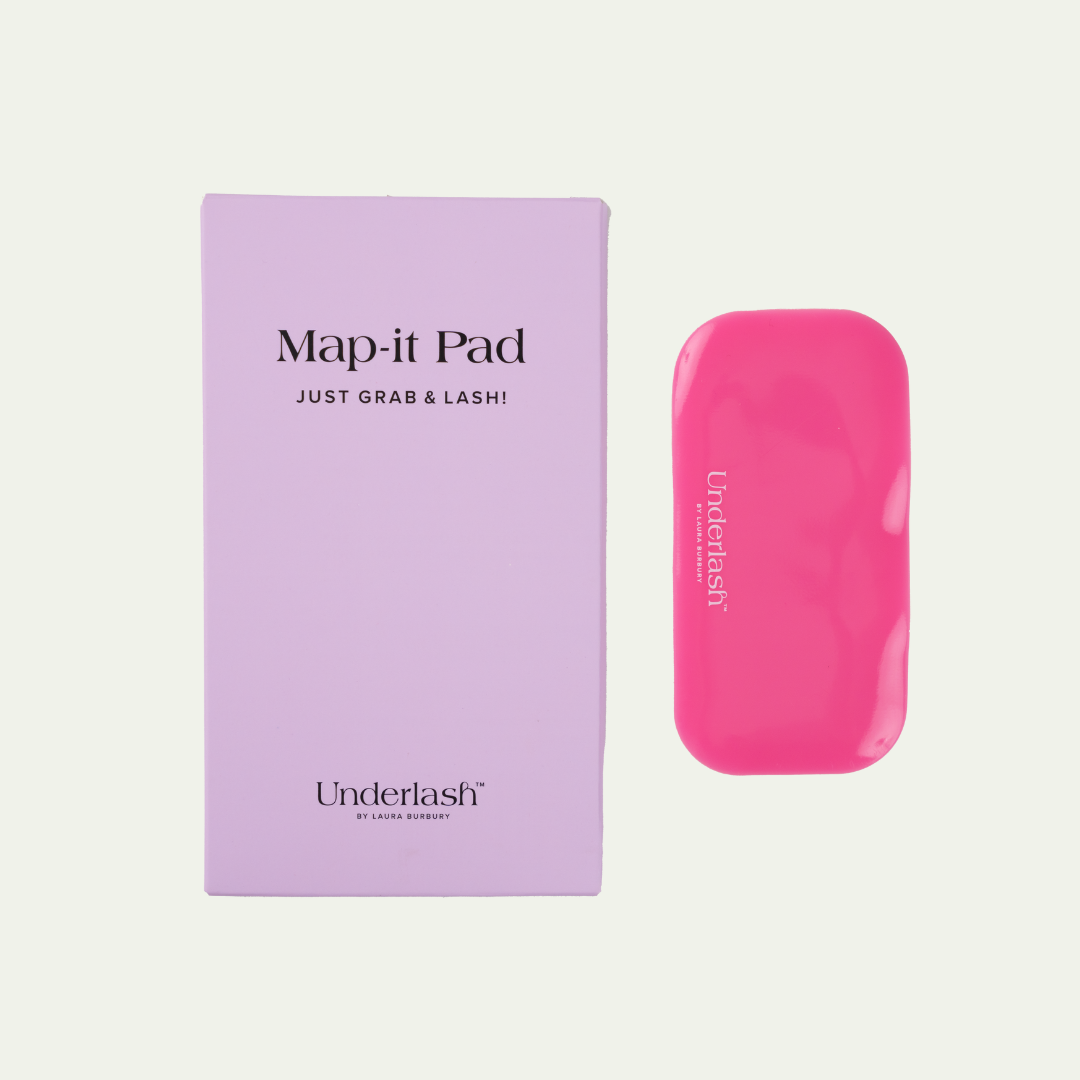
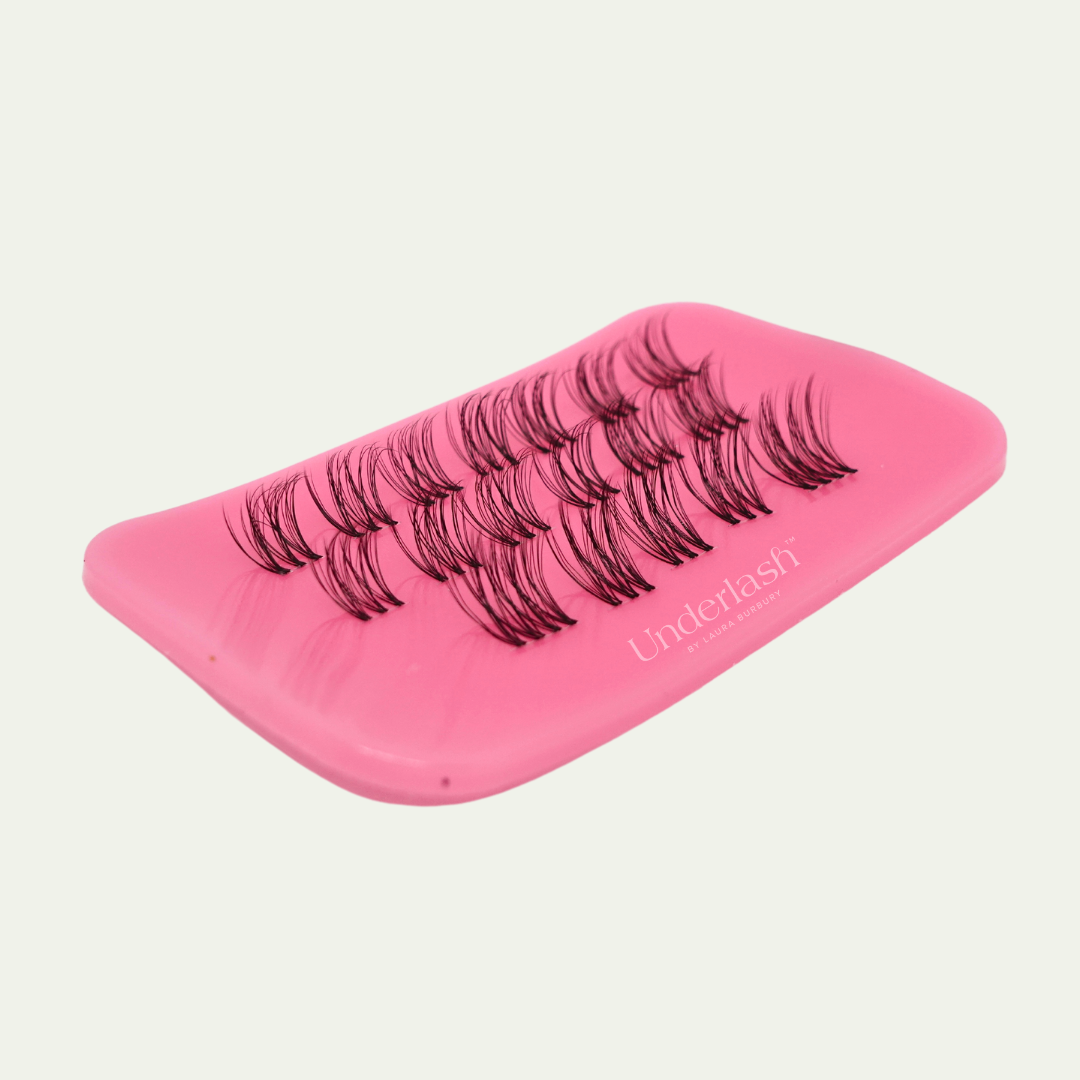
Step 3 - Chop up those lashes to your desired length and pop them under your upper lash line.
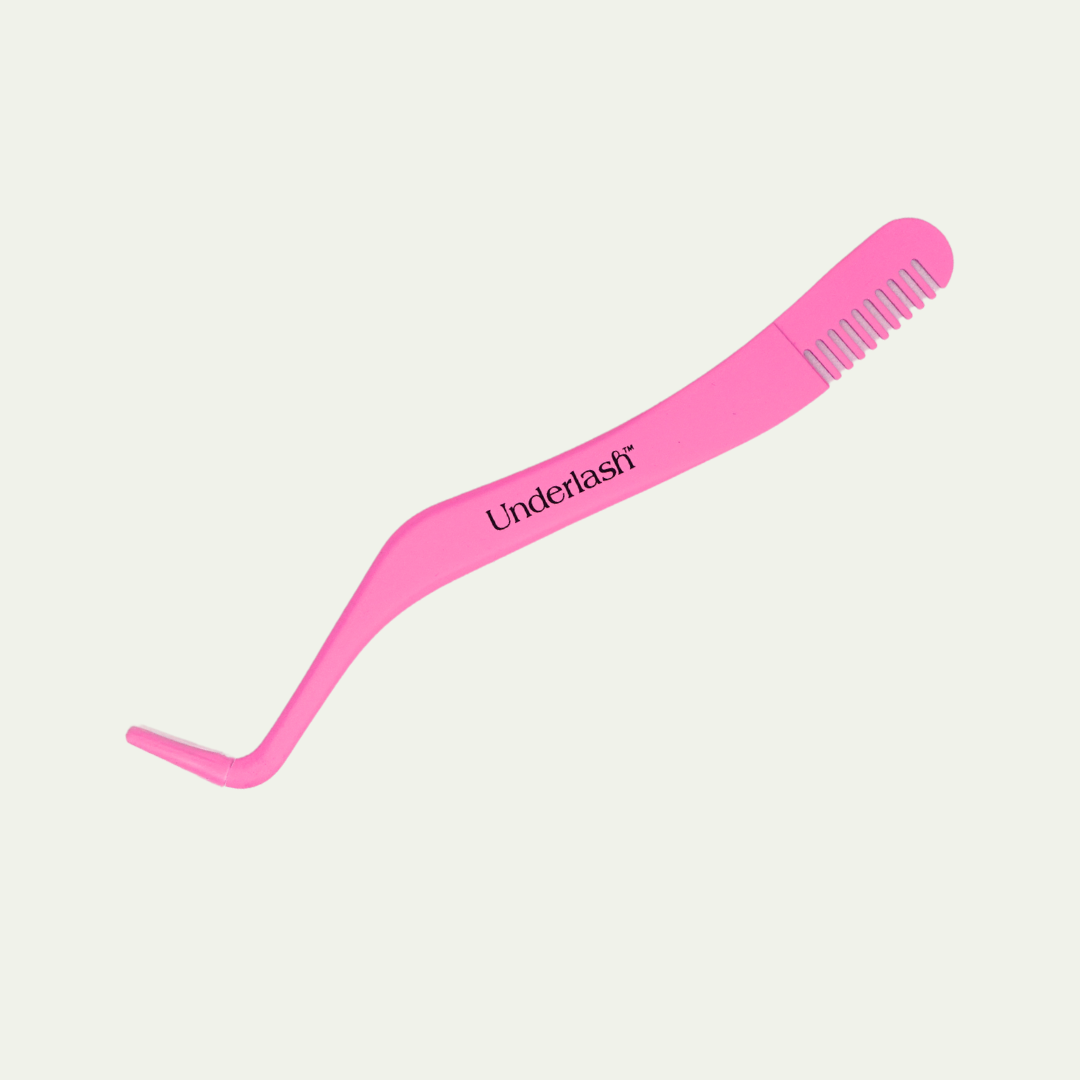
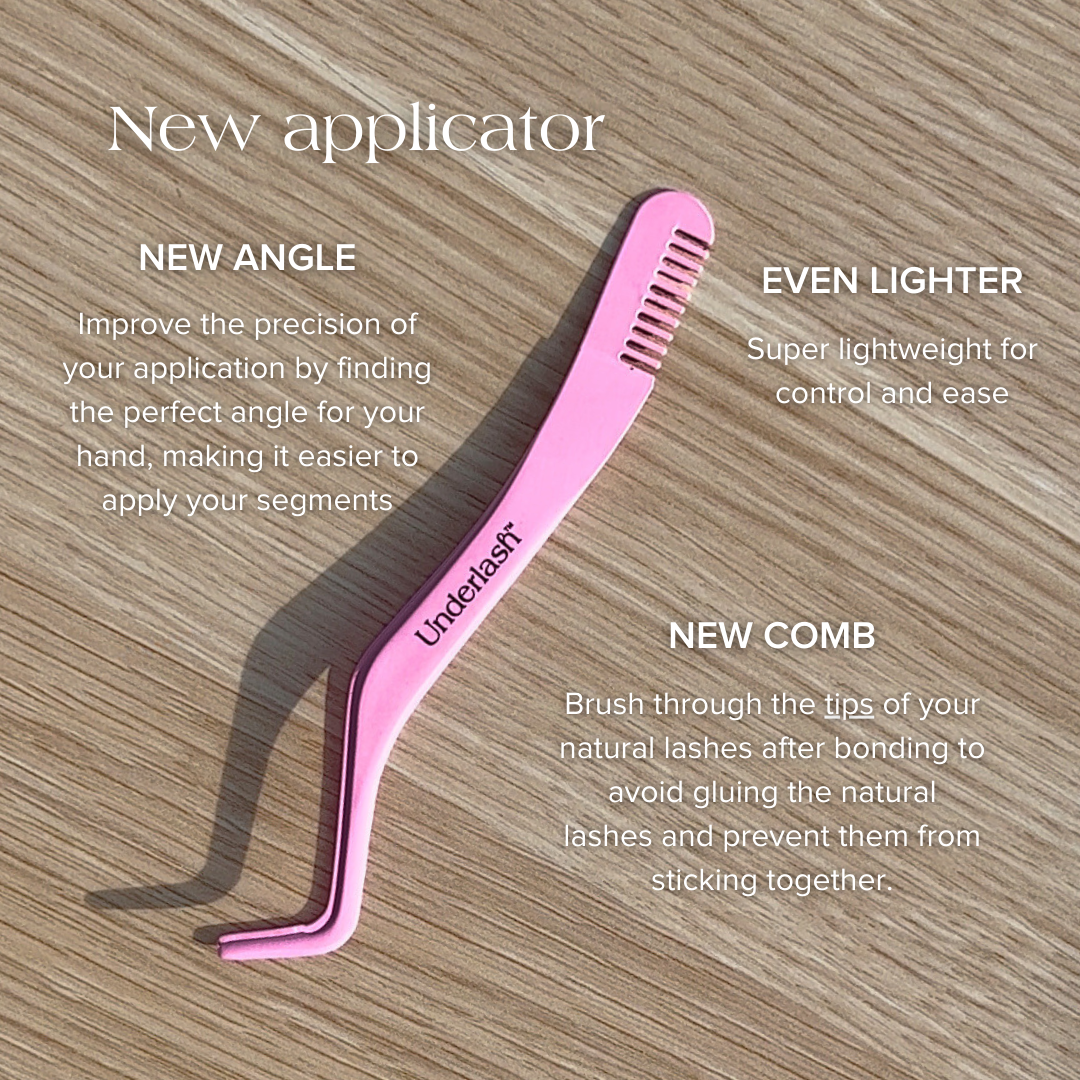
Step 4 - Use the applicator to fuse the falsies with your real lashes.
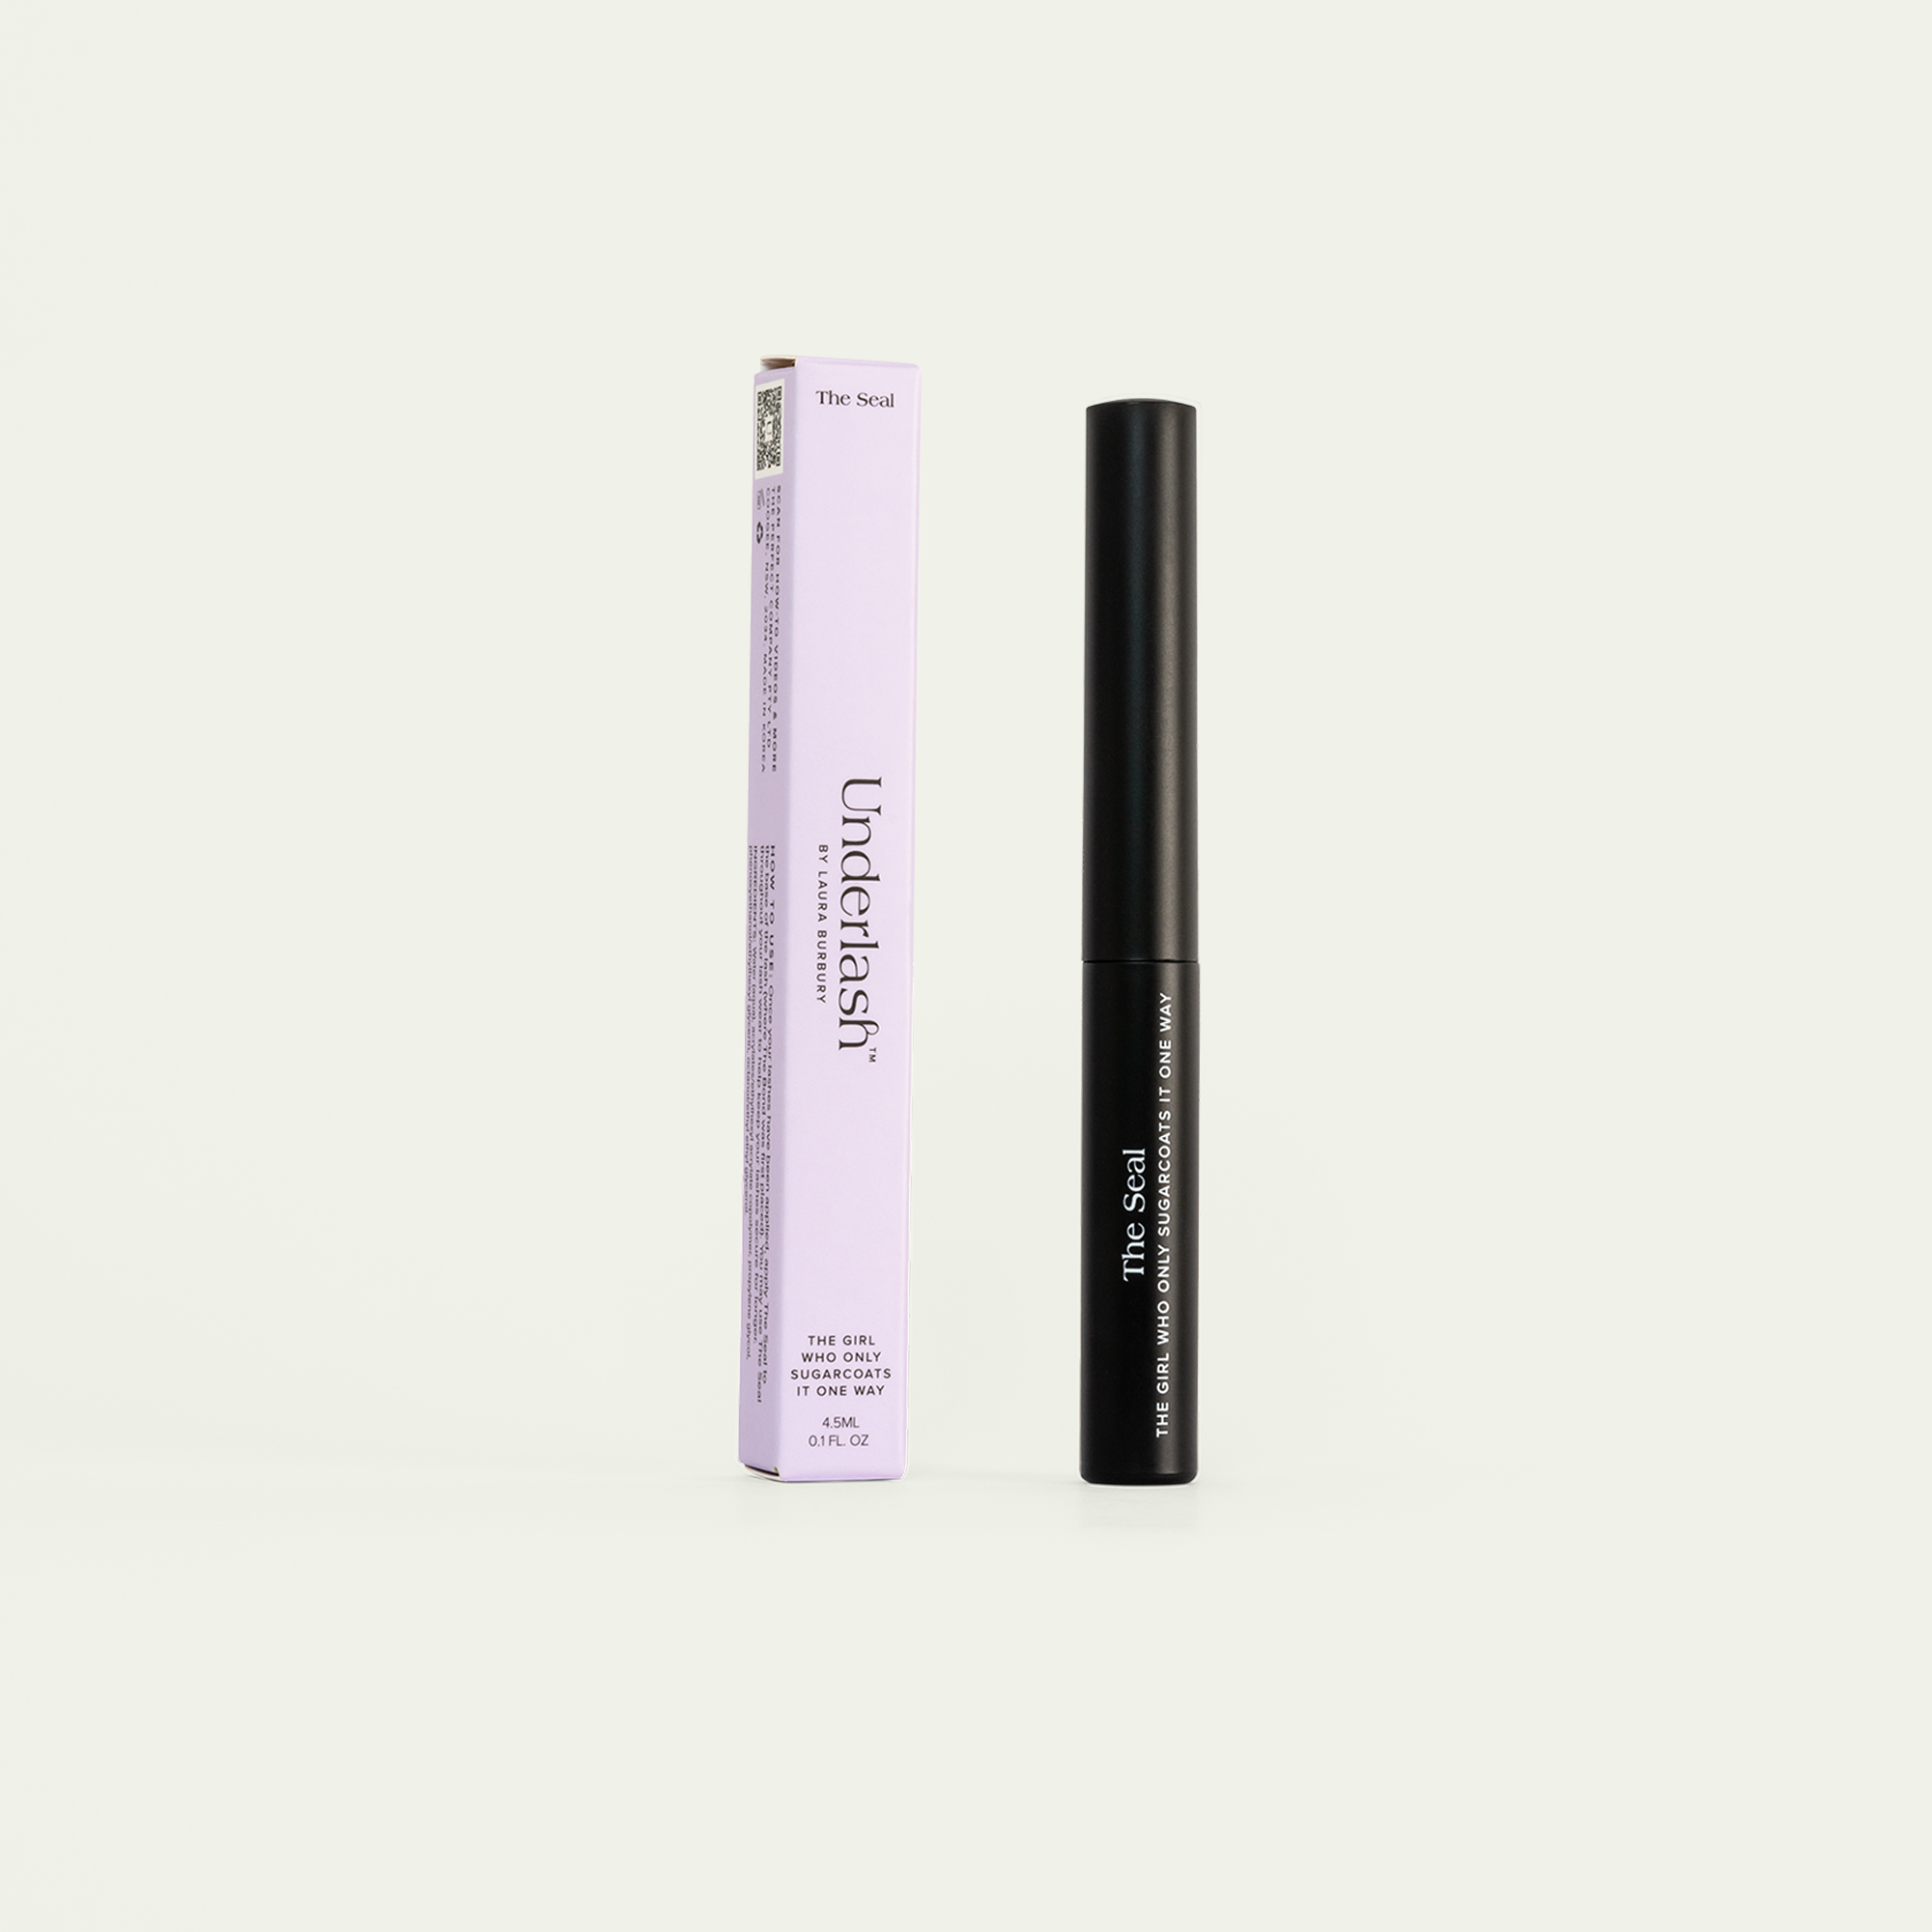
Step 5 - Seal the deal and bat those beautiful lashes!.
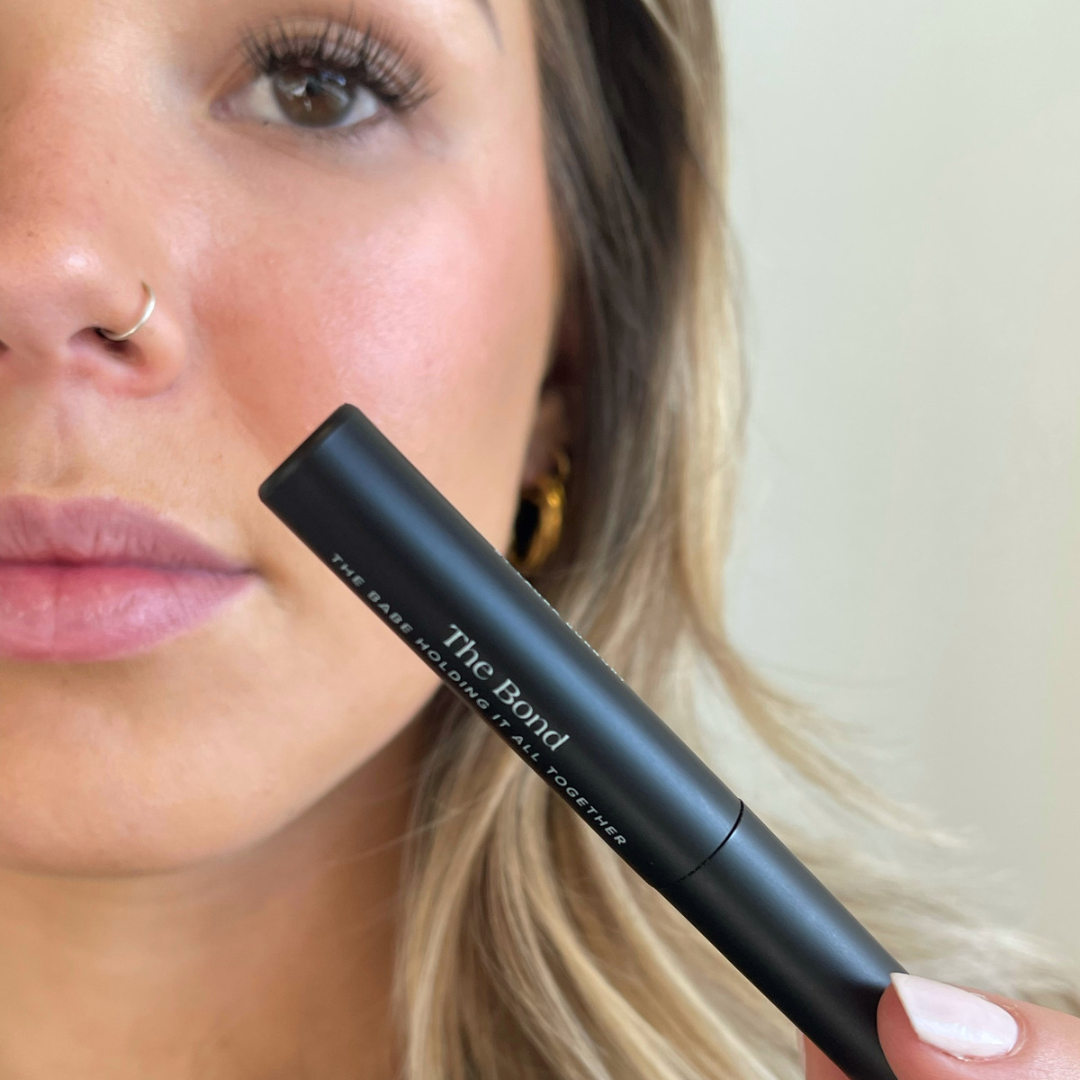
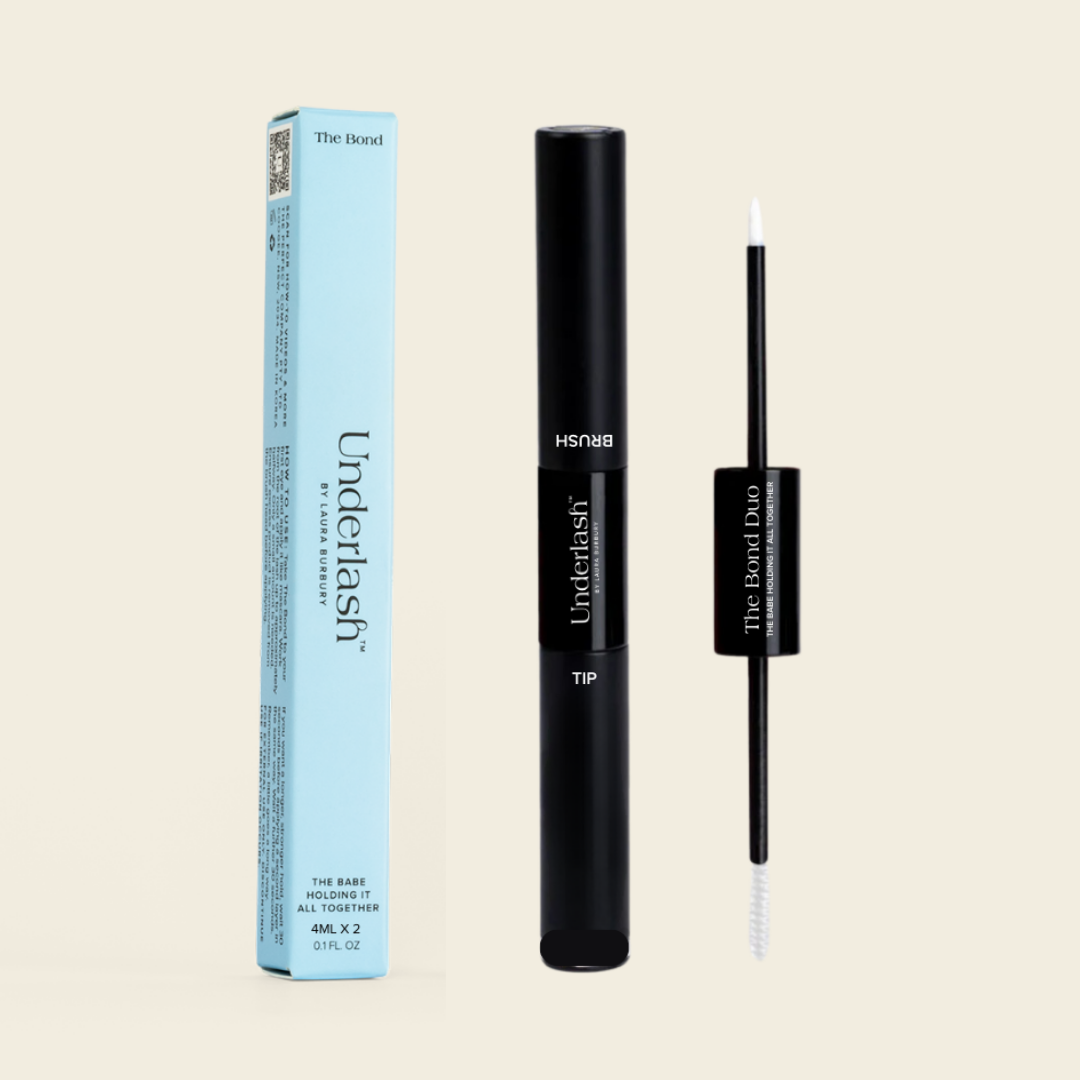
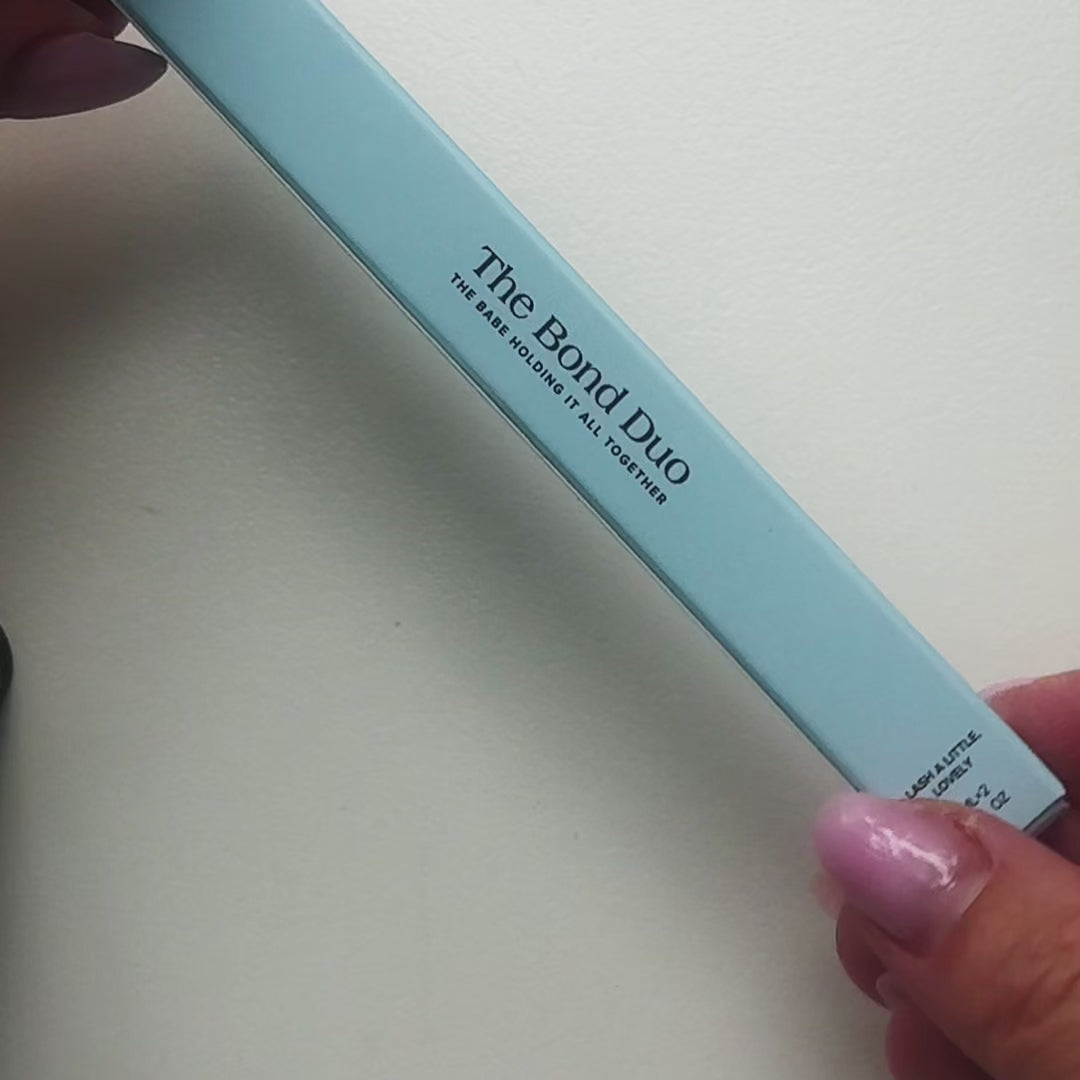
The lash bond comes in a sleek tube, reminiscent of a mascara, making for a smooth and effortless application. Just be sure to remove any excess from the brush, as a little goes a long way. And don't forget to apply only from the root to about halfway up the lash - we don't want any chunky lashes.

Let customers speak for us

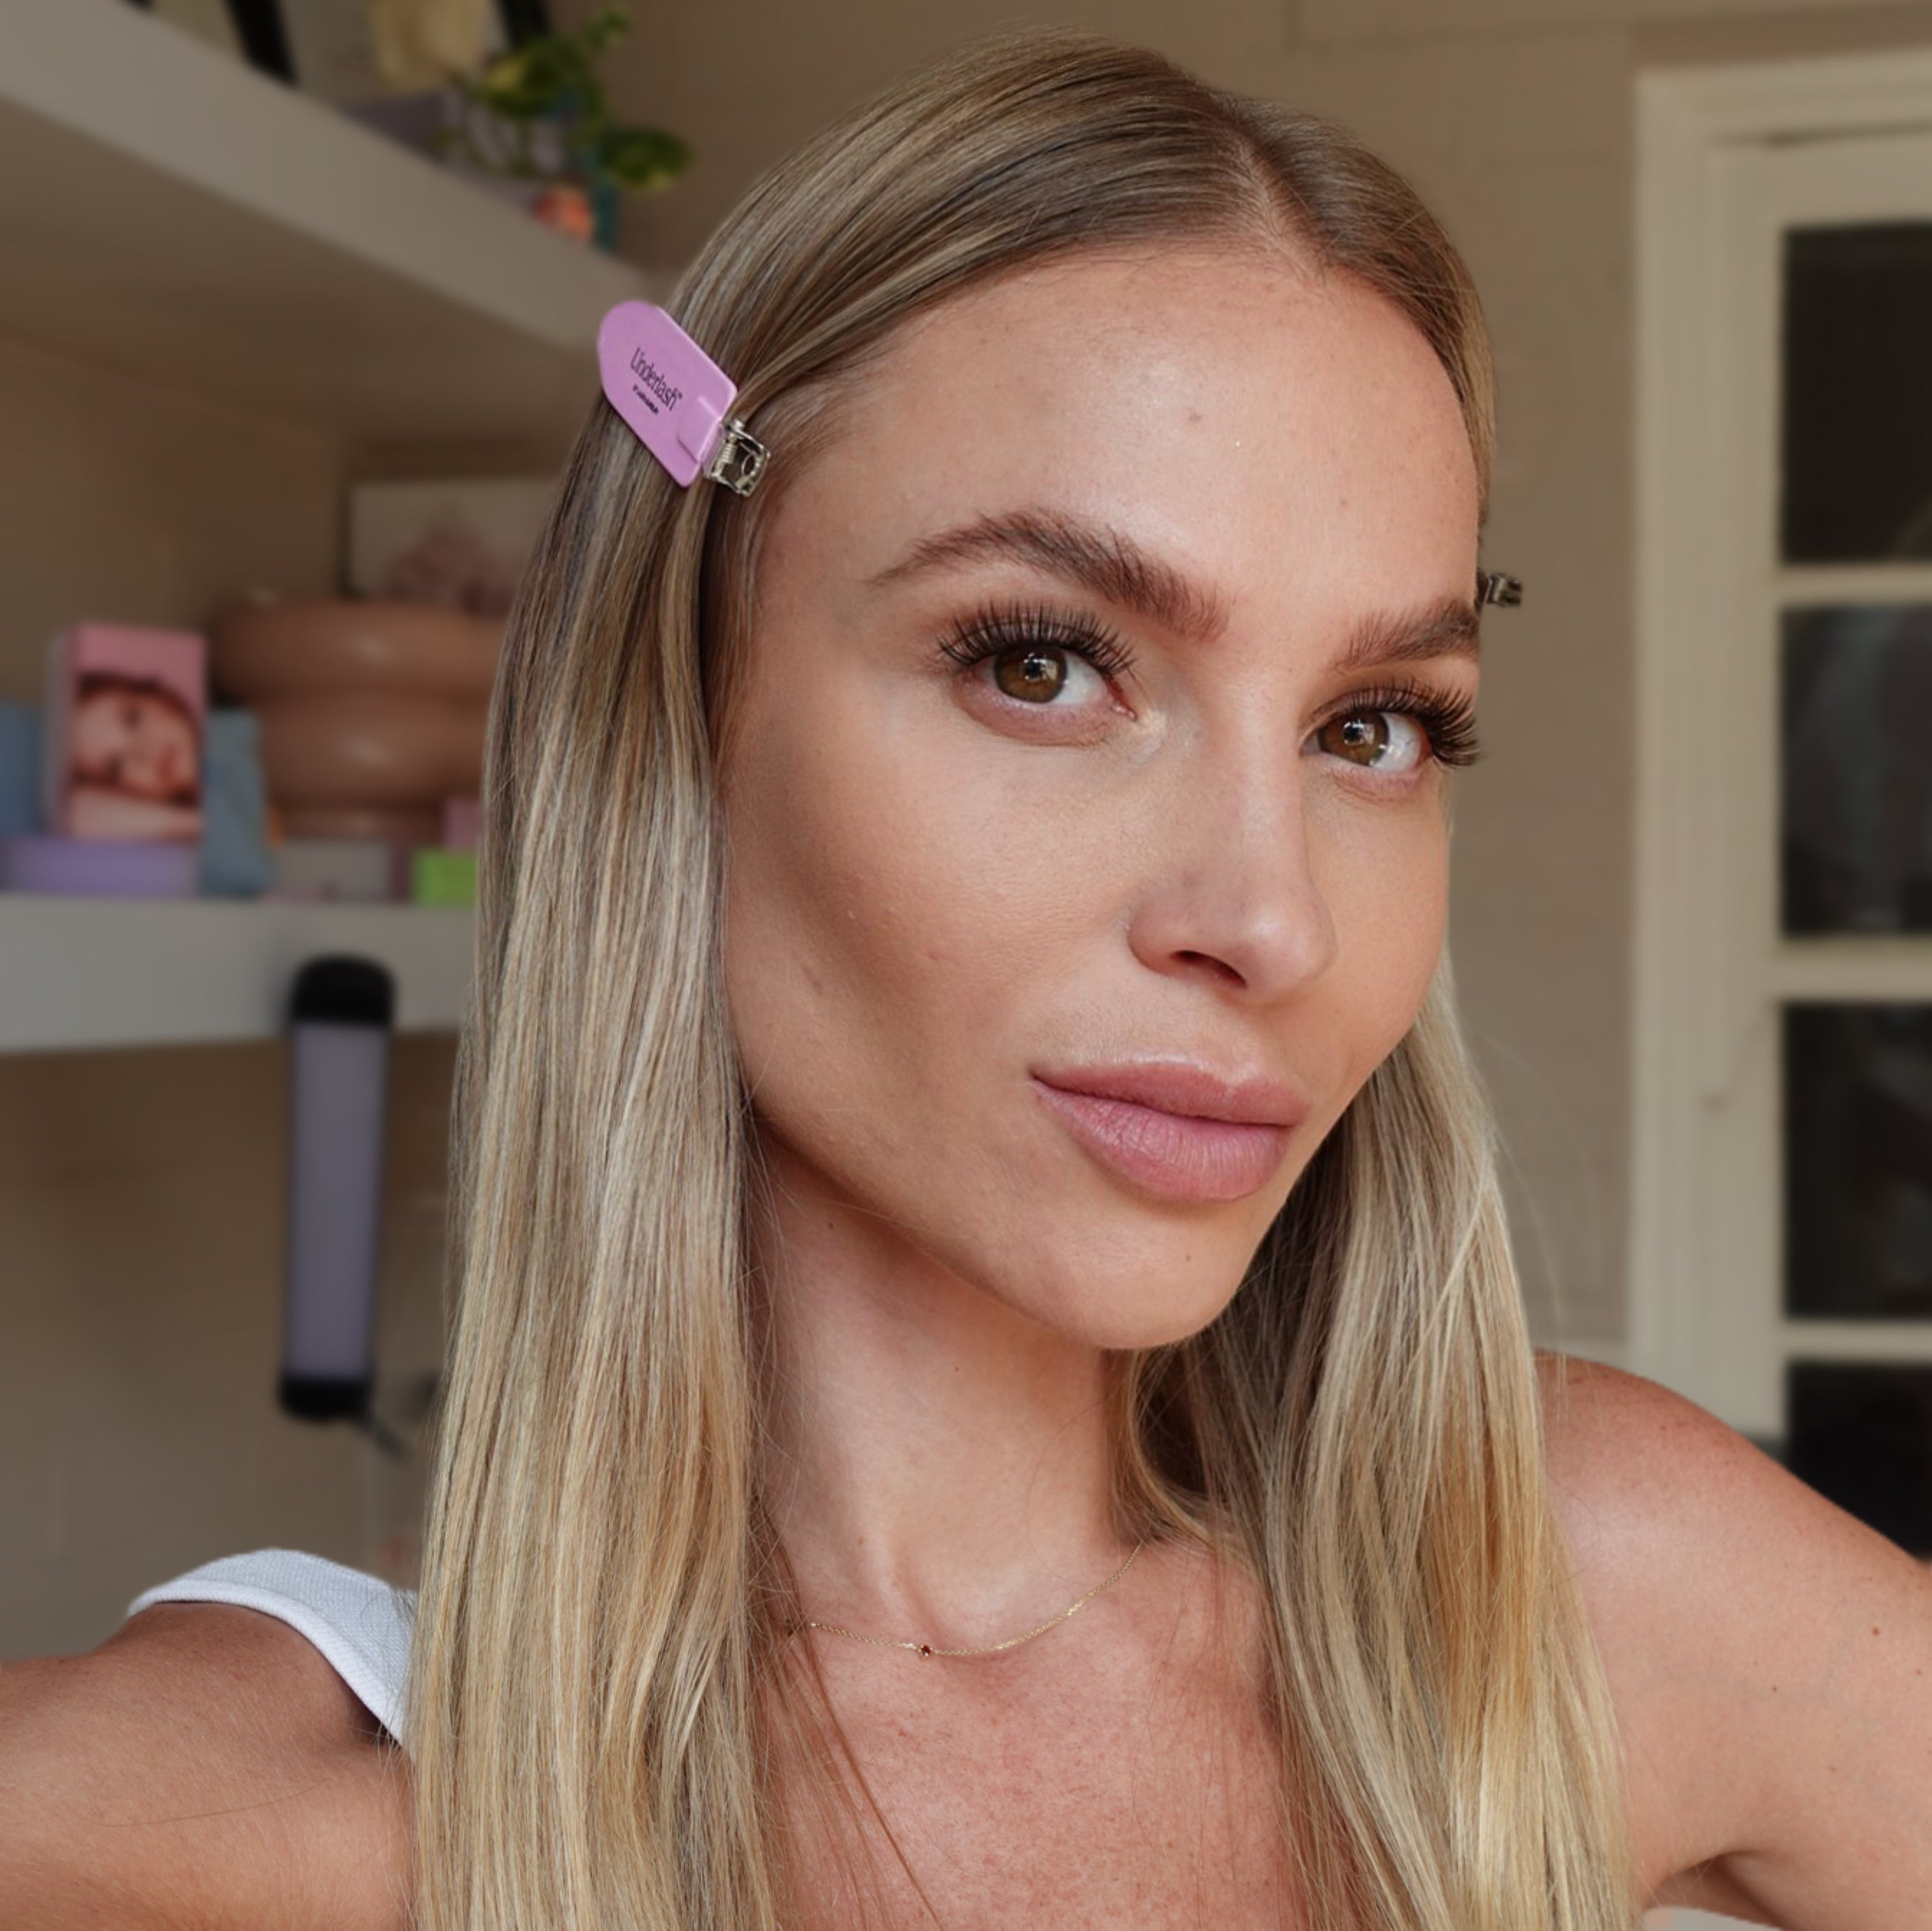
Absolutely love these lashes. The easiest lashes to apply and the softest ones I’ve tried. No damage to my lashes either which is amazing. Can’t wait to try the other styles.

Hey Laura,
I’ve gotta tell you, this is exactly what I needed! I used to use a great brand, but it’s no longer available. Now that I’ve found this from my friend, I’m sticking with it for life. Now I look effortlessly fresh, even without makeup. Thanks so much for introducing me to this amazing product. I'll definitely recommend it to my friends too. I also wanna help my friends look fresh and spirited! And Happy belated birthday! Hope you had an amazing birthday!

Still be my favourite DIY lashes

Just got this done in less than 5mins! Love it so soft, doesn’t feel like plastic! Stays on for then 5 days. Looks so natural 🥰

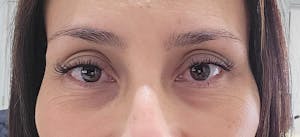
I have hooded eyes, so was a bit nervous, but I put three pieces on each eye (in about 5mins) and they lasted 13 days. The photo is what I sent my sister on day 13. I couldn’t believe it!

I’m a mom of 2 and this DIY lashes is perfect cause i don’t have time to go to the salon, easy and quick to put on, the lashes is gorgeous so light and natural ❤️

I have been getting salon lash extensions for over 15 years and have done considerable damage to my natural lashes. My natural lashes are now very sparse and short. I was skeptical if Underlash lashes would work on my natural lash and boy was I surprised! Amazing, natural looking and so very easy to apply. I have been showing them off and recommending to everyone. Thanks for a fab product Laura!
I'm so glad I gave it a go! Loved them... they look natural, really easy to put on my own, super quick and they last as promised. You won't regret it! 💓🤩

I never leave reviews on anything but these deserve one. Stunning. Beautifully natural and easy to put on.

I was so happy when they arrived, took me a little bit, got it in the end to put them on! The packaging was absolutely beautiful !! I have tried other companies ones and they were horrible but this ( chef kiss) 😘 thank you again and definitely will be ordering again xx

Writing this review after a week. Shipping was so fast and there was good communication. I placed an order on Sunday and it was dispatched the next day.
I almost never use fake lashes (except for special occasions). I prefer these Underlash lashes as they are more natural and feels more comfortable, and last pretty well. I got the starter kit (10mm &12mm) and happy with it, it was a bit fiddly in the beginning to attach but it's pretty easy. However it would only last a day or two. After following the instructions very carefully, it is lasting longer but some of the lashes still come off. Not sure if it lasts longer than 7 days, hopefully once I get a hang of it, it will be better. (I don't make my lashes drenched in the water but it seems humidity and splashes in the shower might be enough to come off. Better to remove and glue again)
Overall, these lashes last pretty well on a whole day, even on a very windy day.

Are you kidding me. These are so beautiful! They feel so natural. I’ve used so many different brands and this brand is one of the best ones out there. I would definitely be purchasing lots more. Please offer a subscription ❤️
I’m wearing mood lashes in brown
14,14,12,12,10

These lashes are the best I’ve tried! They are so easy to put on and quick. I have got so many compliments on my lashes since wearing them and everyone is so surprised when I say they aren’t natural. They are perfect for a confidence boost and I love how fluffy they are. I have recommended these to so many people.

I’ve been getting professional lashes done for the last 8 years the upkeep and cost were starting to take its toll. For the last 12 months I’ve been giving them a break and nourishing my natural lashes but I miss having lash extensions so much!
After trying another brand and being utterly disappointed with the quality I gave up. But then found Underlash and my god they are amazing! The lashes are so lite and attached to easily, the bond is super sticky but doesn’t clump and go stringy. The DIY kit is an amazing way to keep all products on one place and super easy to chuck in the suit case for your travels!
Just like the instructions said it literally took me 5 minutes to apply on each eye.
Honestly if you’re looking for an at home lash kit - this is it, look no further I promise you won’t regret it!!

How i love this lashes. i tried other lashes but it feels heavy but this lashes OMG feels very comfortable. i dont go to salon anymore for my lashes,i can do this amazing lashes for 5 minutes.❤️❤️❤️


